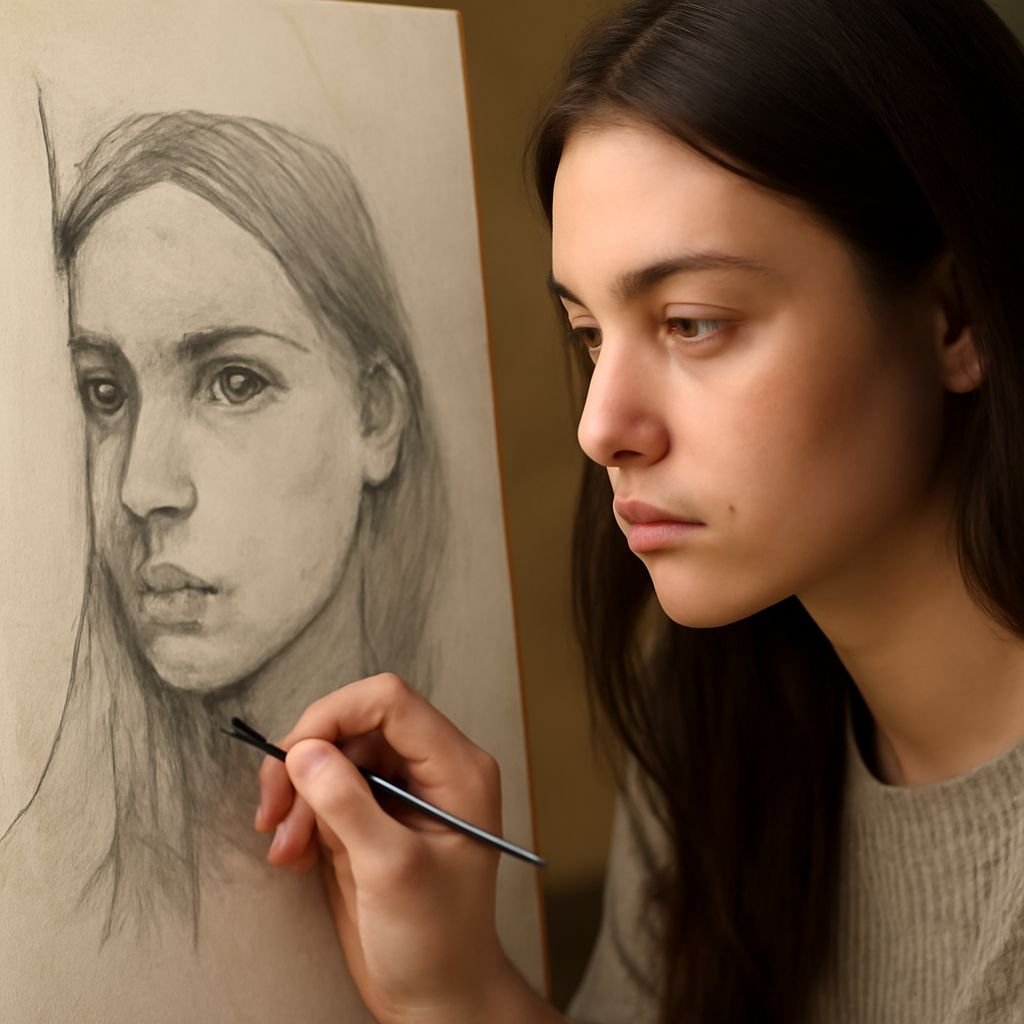
To create a convincing self-portrait outline, choose a reference photo with readable light, a clear silhouette, and a pose you can simplify. The photograph supplies information, but it should not dictate every mark. Your chosen style determines which contours, values, colors, and details remain.
The most reliable process is to establish the large shapes first, then edit the drawing toward the intended artwork. A freehand block-in builds observation skills; a grid or projection transfer helps when accurate proportions matter.
Choose a Self-Portrait Photo That Reads Clearly
Check Light, Contrast, and Facial Planes
Select a photo with one dominant light source and enough contrast to separate the forehead, nose, cheeks, jaw, and neck. Soft front lighting may flatter the face but can erase useful planes. Side or three-quarter lighting gives you clearer value changes, although very deep shadows can hide features.
Convert the image mentally, or temporarily, into a few values: light, middle, and dark. If the eyes, nose, lips, and hair all merge into one dark area, the reference will be difficult to simplify. Increase contrast only enough to clarify the structure; excessive editing can create false edges.
Confirm the Silhouette, Crop, and Pose
A readable silhouette should show the head shape, hair mass, neck, and shoulders without relying on interior detail. Avoid crops that cut through the chin, hairline, or shoulders unless that tension is intentional. A calm, front-facing pose is easiest for a first attempt, while a turned head or tilted camera creates more character but demands closer proportion checks.
Build a Clean Self-Portrait Outline From the Reference
Freehand Block-In: Map the Silhouette and Major Shapes
Begin with a light oval or angular head shape, then mark the center line, eye line, brow line, nose base, and chin. Add the hair and neck as broad masses. Compare distances rather than drawing isolated features: measure the gap from the eyes to the chin, the width between cheekbones, and the angle of the jaw.
Next, place the largest shadow shapes and erase construction lines that no longer help. A successful block-in resembles the pose and proportions at a glance. If the face looks recognizable only after detailed features are added, the underlying structure needs revision.
Grid or Projection Transfer: Set Proportions Before Refining Contours
For a more controlled transfer, overlay a simple grid on the reference and a matching grid on your paper or digital canvas. Copy the intersections and major shape changes square by square, then remove the grid before refining. A projector or image-overlay tool follows the same principle: use it to place landmarks, not to reproduce every photographic edge.
Edit Contours Instead of Treating the Photo as a Tracing Endpoint
Once the proportions are placed, simplify. Combine small bends in the cheek or hair into one intentional line, omit pores and stray strands, and correct contours that appear technically accurate but visually weak. The reference is evidence, not a tracing endpoint. Ask whether each line explains form, expression, or design; if it does none of these, remove it.
Compare Portrait Styles by the Visual Decisions They Require
Contour and Line Art: Prioritize Edges
Contour styles depend on selective outlines. Use heavier or darker lines where forms overlap, such as the jaw against the neck, and lighter or broken marks on turning planes. Interior lines should describe features sparingly, or the face may become cluttered.
Tonal or Monochrome Art: Prioritize Values
Tonal portrait styles replace many lines with grouped light and shadow. Squint at the reference, identify three to five value families, and keep each family unified. Preserve the eye sockets, nose shadow, lips, and cast shadow only when they support the likeness.
Painterly or Graphic Color: Prioritize Palette and Shape
Painterly work keeps color shifts and varied edges, while graphic work reduces the image to decisive color shapes. Choose a limited palette before rendering. Decide which areas receive high contrast and saturated color; those choices will attract attention more strongly than small facial details.
Turn a Photo Into Art With Intentional Simplification
Work From Large Shapes to Selective Details
Block in the background, hair, face, clothing, and major shadows before refining the eyes or mouth. Check the image from a distance or at thumbnail size. If the silhouette and value pattern read clearly, add only details that strengthen expression, identity, or the chosen style.
Adjust Contrast, Color, and Edges to Match the Style
For line art, sharpen a few focal contours and soften the rest. For tonal work, merge similar values and reserve the darkest darks for key features. For color, shift the palette consistently rather than coloring every photographic detail. Stop when the artwork communicates the pose and personality without needing the original photo beside it.