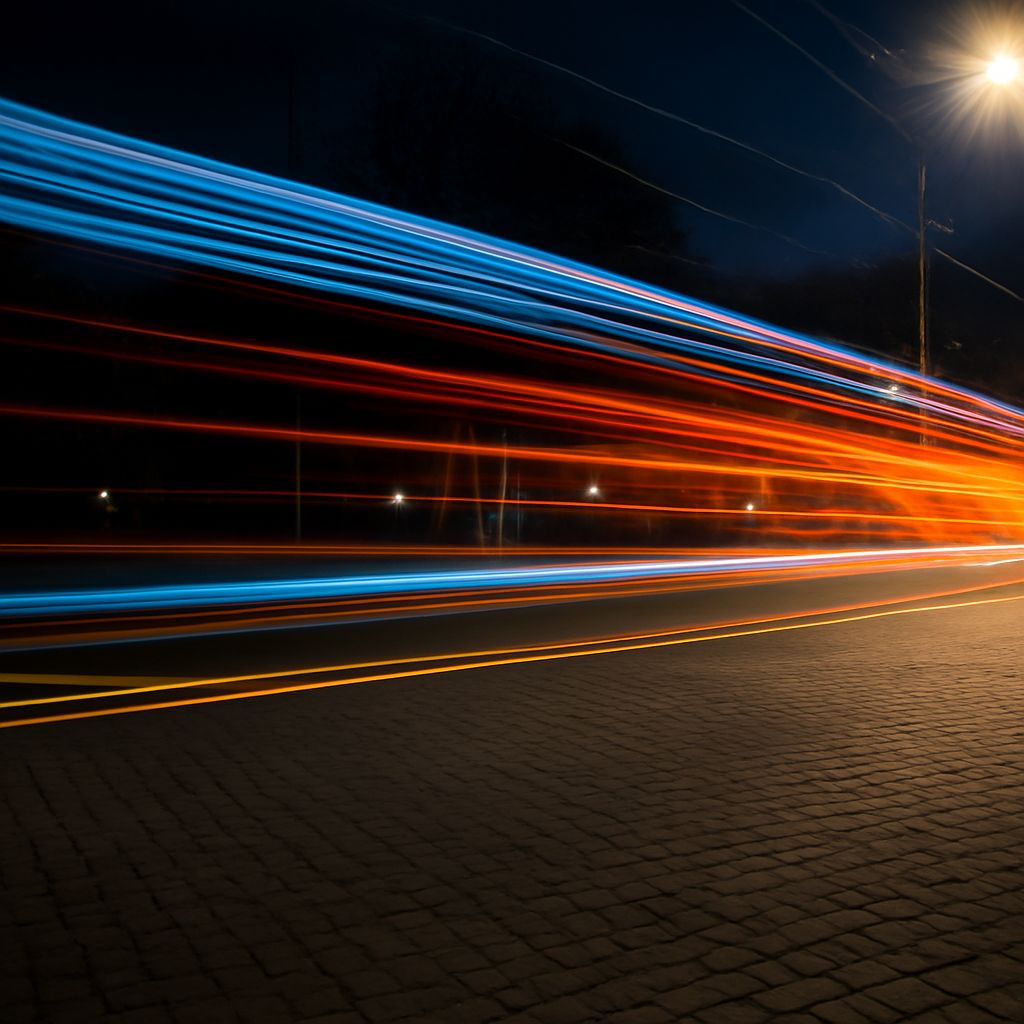
A passing car is visible for a moment, but its headlights can draw a line across a photograph. Photographing light trails means leaving the shutter open while a bright source moves through the frame. The path becomes visible over time, while buildings and other stationary elements gather light throughout the exposure.
Find a path with a purpose
Choose a safe, legal position away from traffic, such as a sidewalk or an accessible overlook. A curve can lead the eye toward a building; a straight road can carry it into the distance. Look at the scene before setting up: decide where the lines should enter and where the viewer’s attention should rest. A bridge, a storefront, or a patch of evening sky can give the glowing marks a setting.
In light trail photography, the camera must stay still while the lights move. Set it on a stable tripod where it will not obstruct other people. Frame a little wider than expected so a vehicle entering near the edge has room to make a complete line. If people are recognizable in the image, consider their privacy before sharing it.
Start with a steady exposure
For a photograph of moving light trails, use manual exposure if available. At dusk, try ISO 100, f/8, and a shutter speed of four seconds as a starting point. These settings are a test, not a fixed recipe: the light in a street, the brightness of the sky, and the speed and number of vehicles all change the result. Use a two-second self-timer or a remote release to avoid shaking the camera when pressing the shutter.
Focus on a building or another stationary detail near the intended path. Magnify the live view to check sharpness, then switch to manual focus or otherwise lock it so the camera does not hunt in the dark. Photographing trails of light is easier to evaluate when the background remains sharp from one frame to the next.
A longer exposure records a moving source over more of its journey, so a vehicle that stays in frame can produce a longer line. It also gives stationary parts of the scene more time to gather light, potentially brightening buildings and sky. The line’s appearance depends on the light’s brightness, movement, and path through the frame; waiting longer does not ensure every line will be equally bright.
Read the first frame
Review the image on the camera screen and enlarge it. Look for detail in bright signs, windows, and the light paths, as well as texture in the darker surroundings. Turn on the highlight warning if the camera has one, and consult the histogram, the graph showing the distribution of recorded brightness. A pileup at the right edge can indicate clipped highlights, where detail has been lost. Bright lamps may clip even when the rest of the image is well exposed, so decide which areas need detail for the picture.
For light trail photography with an overly bright background, shorten the shutter time first and see whether the remaining lines still reach far enough. If longer lines matter, a narrower aperture such as f/11 or a lower ISO, if available, can reduce exposure while keeping the shutter open. A neutral-density filter can also reduce incoming light, though it darkens the moving lights as well as the scene. Make one change at a time and compare the result.
Change the rhythm
In a light-trail photograph, a few distinct lines can feel deliberate; a busy stream can fill the road with color. Try beginning the exposure just before a vehicle enters the frame, then compare it with a frame started midway through its passage. At twilight, the sky may retain color and the surroundings may remain readable. Later, the lights may stand out more strongly against a darker setting.
When making photographs of light trails, check the next test at magnification for clipped signs, sharp buildings, and lines that lead where intended. If the background is too bright, shorten the exposure and take another frame as the next vehicle approaches.