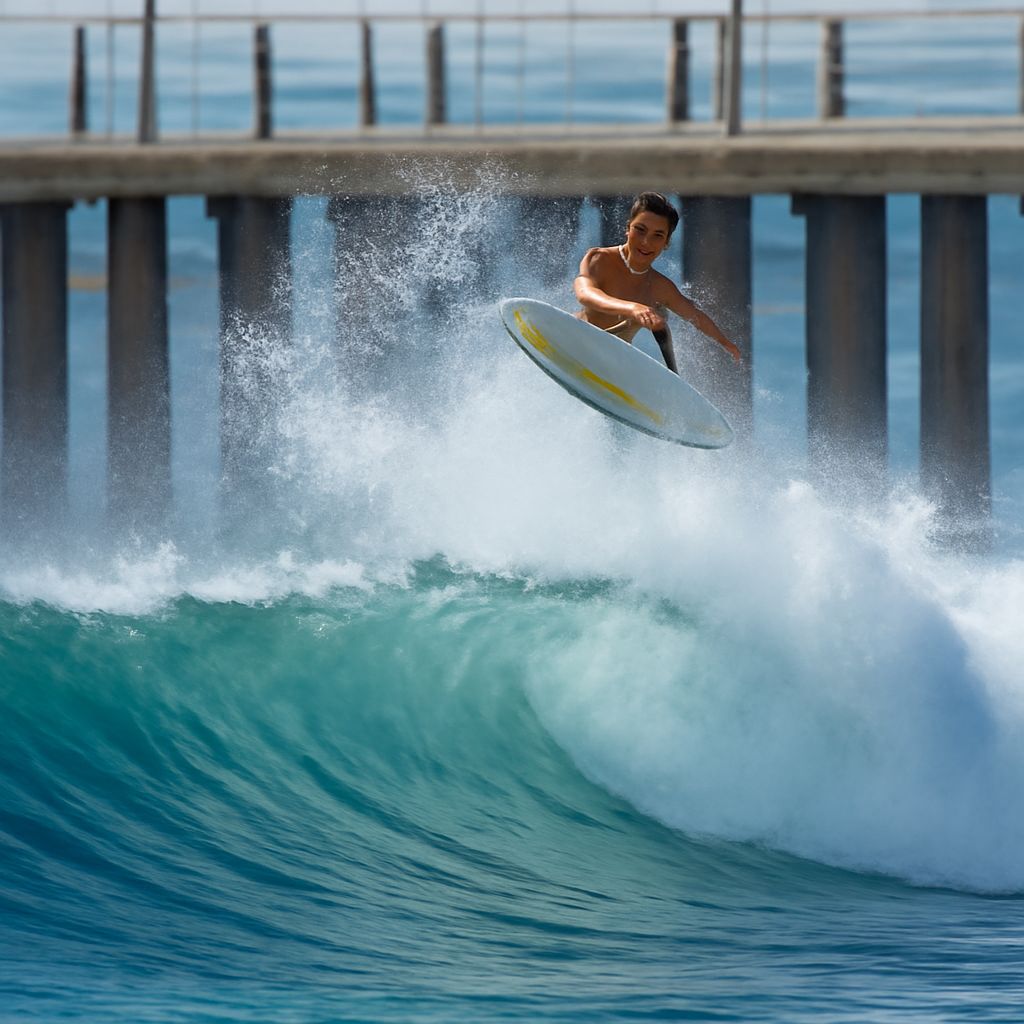
A curl of water can rise over a surfer in less time than it takes to adjust a lens. Photographing surfers from a fixed position begins before that moment: watch where the waves break, where riders travel, and which part of the water can be seen clearly from shore.
Choose a position and a view
Before photographing a surf session, spend a few minutes watching a set of waves from a stable, dry vantage point. Note where riders stand, turn, and disappear behind spray. A headland or stretch of beach with a clear view along the wave can reveal both the rider and the shape of the breaking water. Stay back from the waterline, where changing waves and tides can reach farther than expected, and keep an exit route clear.
A telephoto lens makes a distant rider larger in the frame. A zoom also allows the view to widen when a wave grows or the action moves closer. Very tight framing can show an expression or the position of a hand, but it may cut away the wave that explains the movement. Start wider than seems necessary and leave space in the direction of travel; there will be room to crop later if the image has enough resolution.
For surf photography that includes the setting, a wider view can place a small rider against a long line of swell or a distinctive coastline. Look behind the likely path of the action. A dark cliff may separate white spray beautifully, while a busy row of people or a bright horizon crossing the rider can make the subject harder to read. A small change of position on shore can simplify those relationships.
Follow the subject and control motion
Set continuous autofocus, often labeled AF-C or Servo AF, so the camera keeps adjusting focus as the rider moves. Place the selected focus area on the surfer early and follow smoothly through the viewfinder. Subject tracking can help if the camera offers it, but spray or another rider may draw focus away. Check the first burst at magnification; if the wave is sharp and the person is soft, try a smaller focus area or reacquire the rider earlier.
A fast shutter speed preserves the shape of flying water and the rider’s position. Around 1/1000 second is a practical starting point in good light; faster action or a longer lens may call for more speed. Inspect the results and adjust. If the image is too dark, open the aperture or raise ISO, the camera’s sensitivity setting, while watching for added image noise. Shutter-priority mode can keep the chosen speed while the camera adjusts exposure; automatic ISO can help when sunlight changes.
A slower shutter can give moving water a streaked appearance, but the rider may blur too. For photographs of surfing where the gesture must be clear, begin fast and experiment with slower speeds only after a sharp frame is secured.
Read the sequence
Continuous shooting records several moments as the surfer moves. Begin tracking before the turn, make a short burst as the wave develops, and keep following through the maneuver. Holding the shutter for an entire ride can fill the buffer, the camera’s temporary storage, just as the best moment arrives.
When editing a surfing photo sequence, compare more than sharpness. One frame may show the board’s direction; the next may reveal a bent knee, an extended arm, and the arc of the wave together. Look for a visible face or body position, a recognizable line of water, and enough space ahead for the motion to feel possible. Spray can add energy, but it should not hide the action completely.
The strongest choice depends on what the frame needs to say. For surf photography centered on a maneuver, choose the sharp image where the rider’s posture and the board’s path are clearest. For a photograph of a surfer in the landscape, choose the wider frame that keeps the person visible while showing the scale and direction of the wave.