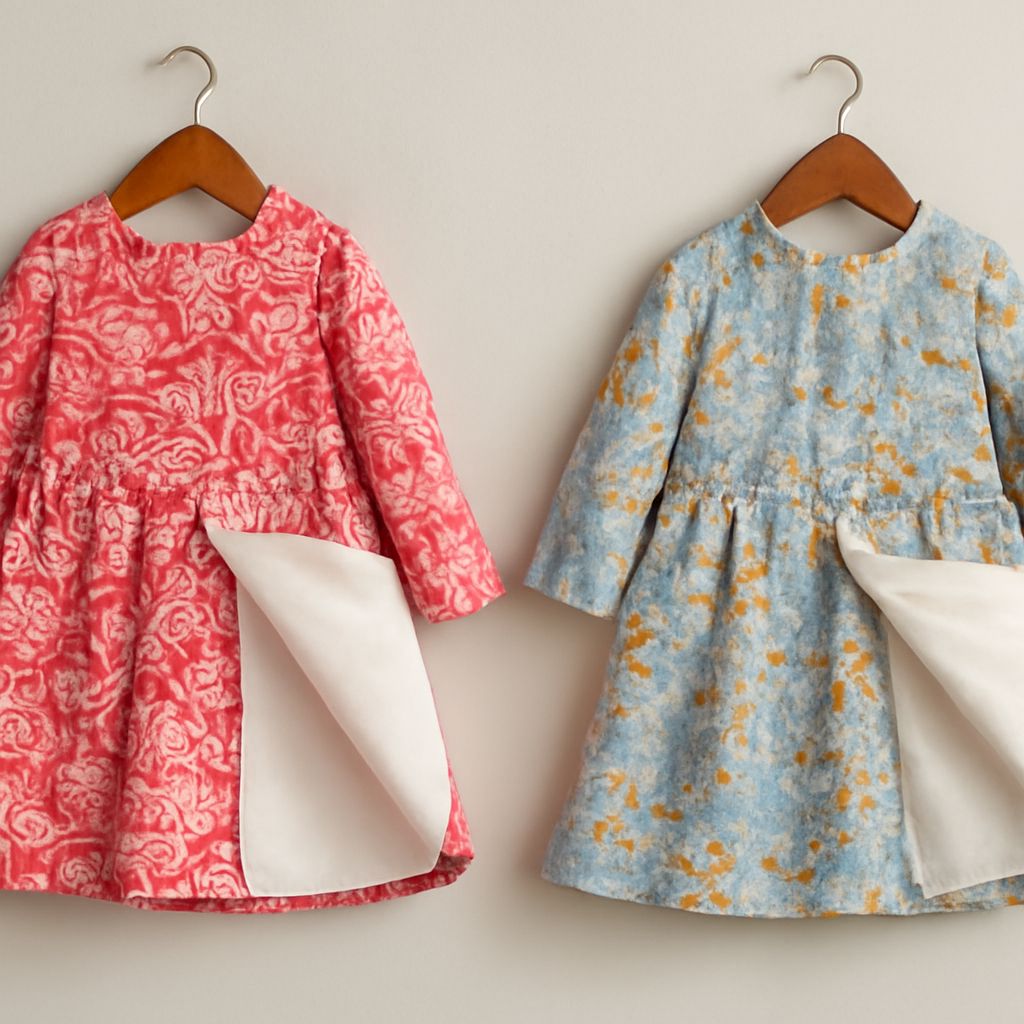
Creating high-quality garment images demands more than just a well-placed camera. In clothing photography, every detail—from fabric texture and color accuracy to styling and presentation—affects the perceived value of an item. Whether you’re shooting for an e-commerce site, a lookbook, or social media, knowing how to photograph clothing with precision can transform simple garments into must-have pieces. Let’s break down the essentials to help you create images that truly sell.
Understanding the Basics of Clothing Photography
Clothing photography focuses on presenting garments in their best light—literally and figuratively. The goal is to convey fit, fabric quality, and color as accurately as possible while creating an image that attracts and informs the viewer. There are three main formats to consider:
- Flat Lay: Garments are laid flat on a surface and shot from above. This is effective for casual pieces, T-shirts, or for creative, styled arrangements.
- Ghost Mannequin: Clothing is styled on a mannequin and the mannequin is removed in post-processing, giving a 3D, “floating” effect. Perfect for showing fit and construction details without distractions.
- Model Photography: Garments are worn by models to demonstrate fit, movement, and scale, adding lifestyle context to the clothing.
Choosing the right format depends on your brand identity and platform. E-commerce audiences expect clear, distraction-free images, while editorial or social content benefits from more creative styling and dynamic poses. Always prioritize a clean, wrinkle-free garment, careful color calibration, and even lighting—these are non-negotiable for professional results.
It’s critical to avoid harsh shadows, distracting backgrounds, and color casts that misrepresent the product. Consistency across your catalog builds visual trust and smooths the shopping experience.
Setting Up Your Space and Lighting for Garment Photos
A functional, controlled shooting environment is foundational for successful clothing photography. Begin by selecting a clean, uncluttered space with room to move around your set. Natural daylight is ideal, but if you’re shooting indoors or on cloudy days, continuous LED panels or softboxes provide reliable results.
For flat lays, place your setup near a large window with diffuse natural light. Use a white foam core or reflector opposite the window to bounce light and soften shadows. For studio setups, position two softboxes at 45-degree angles to the garment, ensuring even, shadow-free illumination. Overhead lights can help with reducing shadows in the neckline or other recessed areas.
Backgrounds should be neutral—white, light gray, or muted colors—to maintain focus on the clothing. If you’re shooting with models or mannequins, ensure the background contrasts enough to avoid blending but doesn’t overpower the product. Paper sweep backdrops are industry-standard for a seamless look.
Keep your gear simple but effective: a DSLR or mirrorless camera with a 50mm or 85mm lens is a versatile choice. A tripod guarantees consistent framing and sharp images, while tethering your camera to a laptop allows immediate review and adjustments.
How to Photograph Clothing: Step-by-Step Process
Mastering how to photograph clothing comes down to repeatable steps that ensure quality and efficiency. Here’s a pro-stylist’s workflow:
- Prepare the Garment: Steam or iron every item thoroughly. Remove tags, lint, and distracting accessories unless they’re part of the styling. Arrange the garment neatly, ensuring seams are straight and collars, cuffs, and hems are crisp.
- Set Up Your Shot: Place the clothing on your chosen surface, mannequin, or model. Align the camera at the correct height for the style—directly above for flat lays, chest height for mannequins and models. Use a tripod to maintain composition and prevent camera shake.
- Control the Lighting: Adjust your light sources to minimize shadows and highlight the garment’s texture. Check for any glare, especially on satin, silk, or synthetic materials. Use diffusers or reflectors as needed.
- Adjust Camera Settings: Set your white balance using a gray card to capture true colors. Use an aperture of f/8–f/11 for sharpness and depth, and an ISO as low as possible (100–400) to reduce noise. Shutter speed can be slower since your camera is on a tripod.
- Shoot Multiple Angles and Details: Capture front, back, and side profiles, plus close-ups of textures, patterns, labels, and any unique features. This gives customers a complete view of the product.
- Review and Reshoot: Connect your camera to a computer or preview images on your camera’s display to spot issues like wrinkles, color inaccuracy, or unwanted shadows. Fix and reshoot as needed before moving on.
Consistency is key: maintain the same camera height, lighting setup, and background for every item in a series. This creates a cohesive catalog and streamlines editing later.
Tips for Styling, Posing, and Editing Clothing Photos
In clothing photography, styling is everything. For flat lays, use tissue or padding to add dimension to collars and sleeves. Arrange accessories—without cluttering the frame—to suggest styling ideas and boost visual interest. When photographing on models, coach natural poses that highlight garment shape and fit. Slight movement, such as walking or turning, shows how fabric drapes and flexes. Avoid hands in pockets or crossed arms, which may obscure vital details.
Keep styling authentic to the product’s purpose. Don’t over-pin or clamp garments; customers expect what they see to reflect reality. If using a ghost mannequin, double-check that all inner seams and labels are tucked out of sight, and the interior is clean—editing will not fix poor prep work.
Post-production is where images are refined. Start with basic color correction to ensure true-to-life representation. Use the clone and healing tools to remove dust, stray threads, or minor blemishes. For ghost mannequin shots, carefully blend multiple exposures to create the seamless, 3D look. Maintain natural shadows under hems and sleeves for realism, even in catalog shots. Export at high resolution for web—usually 2000px on the longest side—balancing quality and load speed.
Consistent editing style across your clothing photos builds credibility and brand recognition. Calibrate your monitor, save presets for batch processing, and review every image at 100% before publishing. Ultimately, the best clothing photography is invisible when done well: it lets the garment speak for itself and drives the customer’s desire to own the piece.