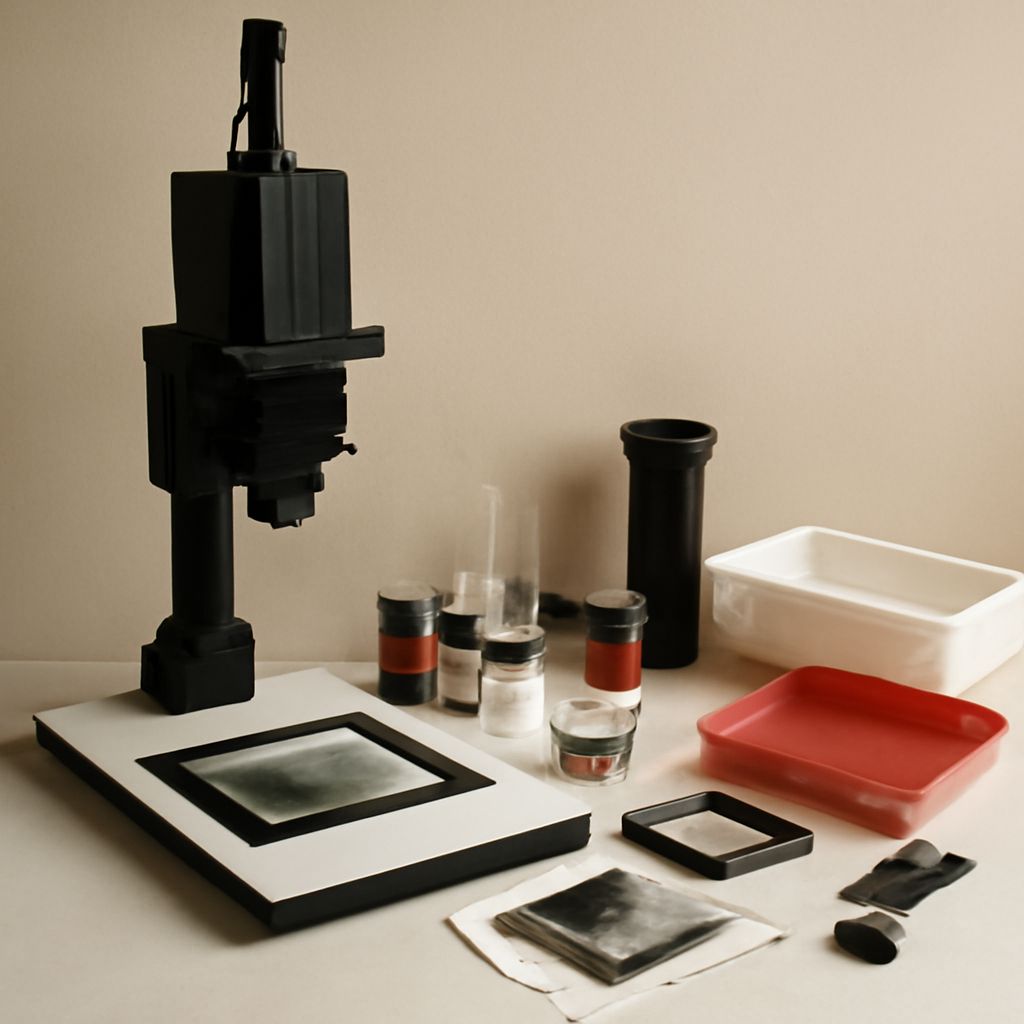
A few seconds under an enlarger can turn a pale patch of photographic paper into a deep shadow. Printing in the darkroom makes that interval visible and adjustable: each exposure is a decision about what the final image should reveal.
The following process uses a black-and-white negative and compatible black-and-white paper. An enlarger projects light through the negative onto the paper; the exposed sheet then passes through developer, stop bath, and fixer before washing. Follow the instructions for the particular paper and chemicals, including dilution, temperature, processing time, ventilation, and disposal.
Set up the image and paper
Choose a negative with a range of detail that can be seen in its light and dark areas. Place it in the enlarger’s negative carrier and check for dust. With the room lights on and paper safely closed away, project the image onto the easel, the frame that holds the paper flat. Adjust the enlarger height for the desired crop and focus on a clear detail. A grain focuser can magnify the film grain to help establish precise focus.
Select a paper surface and base. Resin-coated paper is a practical choice for early tests because it washes and dries relatively quickly. Variable-contrast paper allows contrast to be changed with compatible filters or a color enlarger head. Use the safelight specified for that paper and test it according to the manufacturer’s guidance; keep unexposed sheets in their closed package.
Find an exposure with a test strip
With ordinary lights off, place a strip of paper across important light, middle, and dark parts of the projected image. Use an opaque card to cover all but one section. Expose in equal increments, moving the card to uncover another section each time. For example, when making a darkroom print, five exposures of two seconds create adjacent sections receiving ten, eight, six, four, and two seconds. Record the lens aperture, filter, enlargement, and time.
Process the strip fully using the materials’ instructions. Once it is fixed sufficiently for normal light as specified by the manufacturer, inspect it under white light; wash and dry it before making a final comparison. Choose a time that gives the important tones a promising foundation, then make a full print in the darkroom. Ilford’s exposure-testing guide describes another way to compare a range of times.
Shape contrast and local detail
In darkroom printing, exposure controls how much light the paper receives: more exposure generally makes a print darker. Contrast changes the separation between light and dark tones. If a print has a suitable overall density but looks flat, try a higher contrast filter; if highlights and shadows become too harsh, try a lower one. Make a new exposure test after changing the filter, since the required time can change too.
Dodging holds back light from an area during part of the exposure, making that area lighter. Burning gives an area extra light, making it darker. For example, a light foreground may need a brief additional exposure while the rest of the sheet is masked. Keep the tool moving to soften its edge, and note the position and seconds used. A small sketch of the print can make those instructions repeatable.
Compare finished prints
Consistent processing makes darkroom printing decisions easier to evaluate. Develop for the recommended time rather than pulling a sheet early to correct excessive exposure. Keep separate tongs for the chemical stages, and wash according to the paper’s instructions. Dry the photographic prints made in the darkroom fully, then compare them side by side under the same white light; wet and dry paper can look different.
A simple log for each darkroom print might include paper, filter, aperture, exposure, local adjustments, and processing conditions. Change one major variable at a time so the next result has a clear explanation. If every section of a test strip is too pale, give the next strip longer exposures while keeping the other settings fixed; use its range to choose a new full-print time.