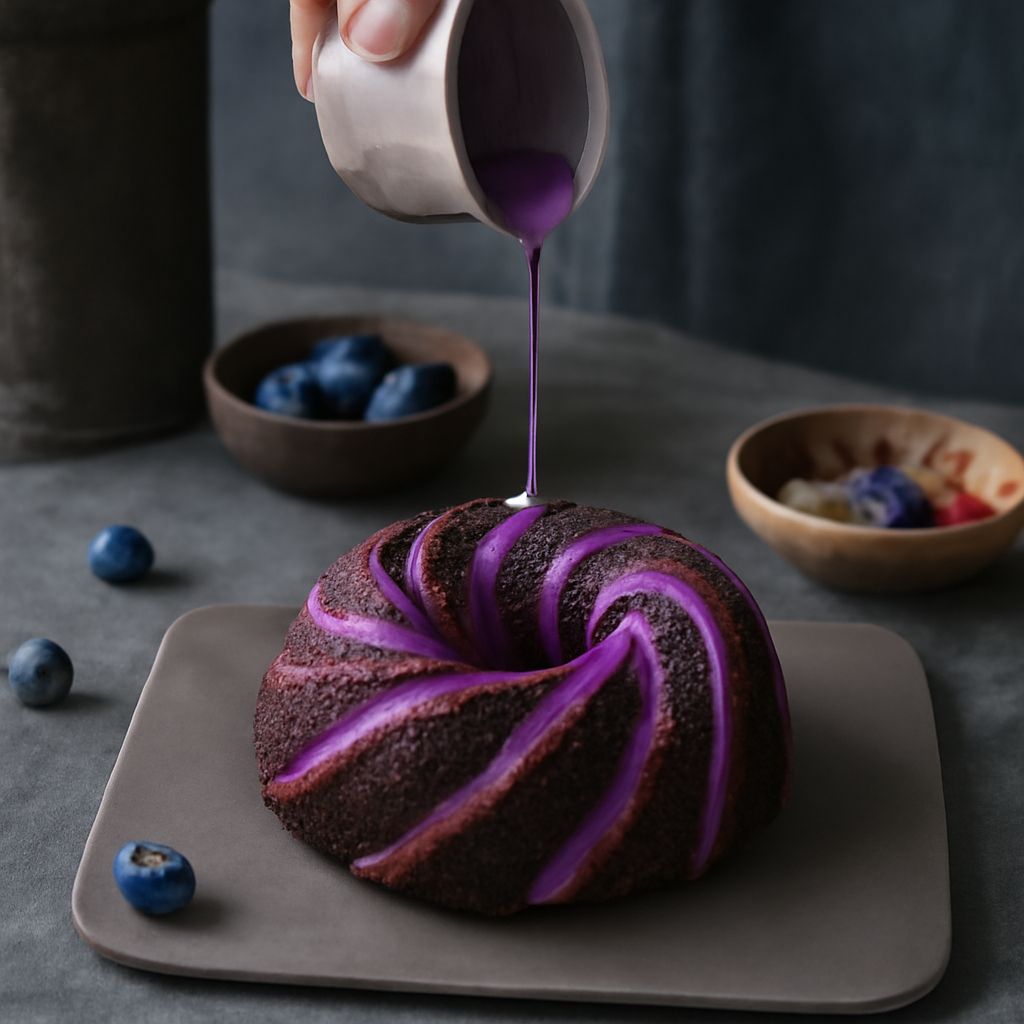
A dish can suggest a quiet breakfast, a busy kitchen, or the pleasure of a single ripe peach. Creative ways to photograph food begin with that choice: decide what the viewer should notice, then arrange a small set that gives the food room to speak.
Creative Food Photography Starts with the Dish
Choose one visual idea before adding props. A bowl of soup might be about steam and warmth; a sliced citrus fruit might be about color and the pattern of its segments. A napkin or spoon can suggest a meal in progress, but each object should support the scene. If the eye goes first to a bright cloth instead of the dish, move it or remove it.
Freshness changes quickly under lights and during preparation. Set the background, camera, and light with an empty plate or stand-in before the finished dish arrives. Add delicate herbs or a sauce near the end, then make the important frame while the food still has the texture and appearance intended. Keep food at appropriate temperatures if it will be eaten afterward.
For creative food photography, the focal point might be a crisp edge, a glossy surface, or the layers inside a cut piece of cake. Turn the plate slowly and look for the view that shows that feature clearly. A few crumbs can suggest an interrupted meal; a distracting smear may obscure the choice.
Shape light and reflections
A table near a window provides a simple source of side light. Place the dish so light enters from the left or right, then watch how the shadows describe its surface. A thin white curtain can soften direct sunlight. On the darker side, a white card just outside the frame reflects some light back into the food; move it closer or farther away to control the shadow without erasing it.
Backlight comes from behind the subject, toward the camera. It can illuminate a clear drink or reveal the shine of a glaze. It may also produce glare on a plate or wash out a bright highlight. Move the dish, camera, or light slightly and watch the reflection change; a dark card outside the frame can reduce a distracting bright patch. Use a hand or lens hood to shade the lens from direct light without blocking the scene.
When photographing food with a glossy sauce, keep enough reflection to show its surface. A completely dull image can hide the very quality the picture is meant to convey. When making food pictures, compare a frame with the white card and one without it to see which balance of shine and shadow describes the dish more clearly.
Compare viewpoints
An overhead view shows the arrangement of ingredients across a plate. It can turn a salad, a pizza, or several small dishes into a pattern of shapes and colors. Keep the camera parallel to the table if a straight overhead view is intended, and check the frame edges for cutlery or props that enter awkwardly.
At approximately the food’s level, height becomes visible: the layers of a sandwich, the rim of a glass, or the curve of a loaf. This angle also brings the background into view, so choose a surface and backdrop that do not compete with the subject. A position between overhead and eye level can show both the top and the side. Make a frame from each angle and compare which one explains the food best.
Keep color believable
For a food photograph, start by adjusting exposure so both the bright plate and darker ingredients retain detail. White balance controls the overall warmth or coolness of the image; compare a neutral plate or cloth with the actual object under the same light. Mixed window and room lighting can introduce competing color casts, so turning off a nearby lamp may make the scene easier to balance.
A modest adjustment to contrast or color can restore the impression of the dish. Excessive saturation can turn greens electric or make a sauce look unlike the food on the table. Review the image alongside the subject and leave its natural texture visible.
Place one piece of fruit near a window now. Make one frame from above and one from the side, then choose the angle that best reveals its shape and surface.