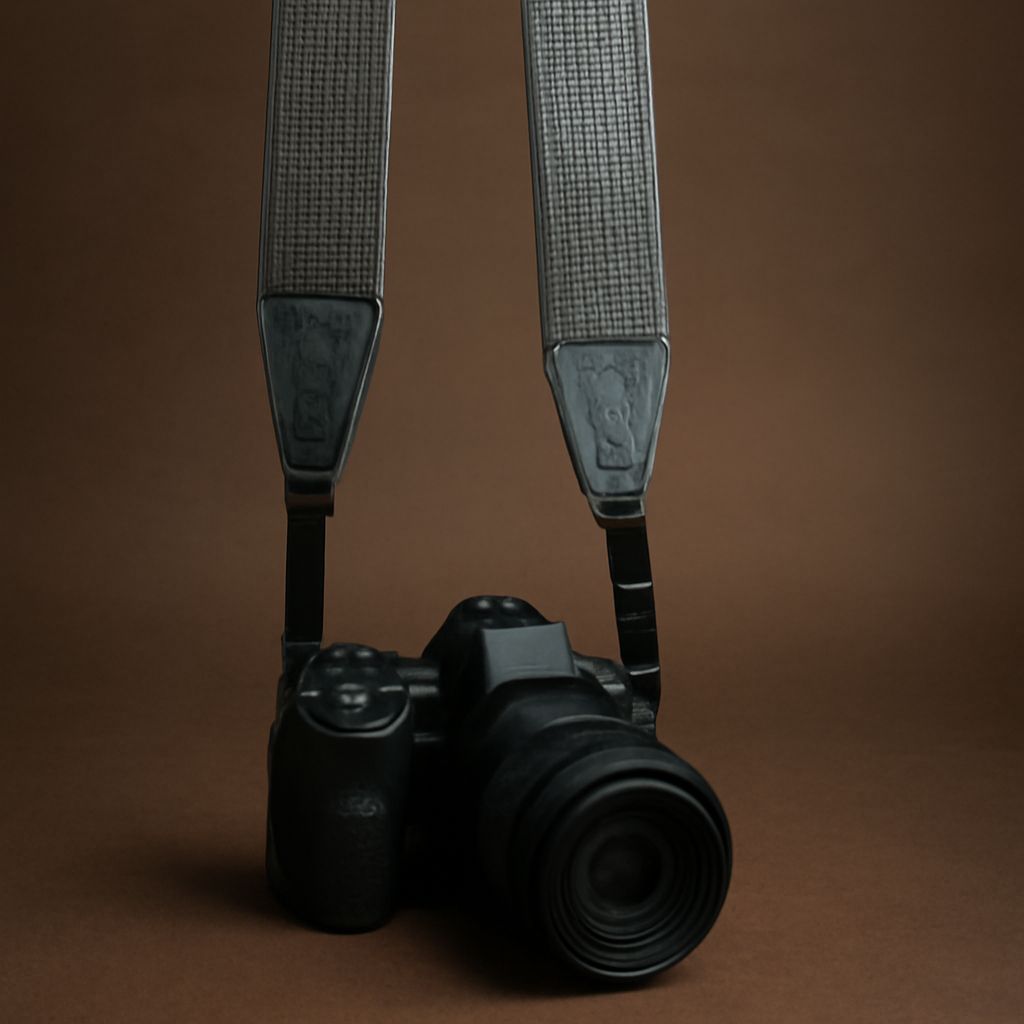
A narrow strip of webbing can carry a camera for hours, but its security depends on the small folds hidden inside two buckles. Knowing how to attach a strap to a camera begins with identifying those connections before lifting the camera by the strap.
Match the strap to the mounting points
Most cameras have small strap eyelets, sometimes called lugs, on opposite sides of the body. A conventional neck or shoulder strap has narrow ends that pass through these points and return through adjustment buckles. Some cameras use rings fitted to the eyelets; other straps connect to a dedicated plate or mount at the tripod socket underneath the camera.
Before deciding how to attach a camera strap, compare the camera’s mounting points with the strap maker’s instructions. The webbing must fit through the specified eyelet or ring, and the hardware must be intended for the camera and the combined weight of the body, lens, and accessories. A tripod-socket attachment needs the fitting and installation method specified for that system. Check that it is secure and does not obstruct a battery door or a control needed during use.
Installing a camera strap with a quick-release system adds another connection. A small anchor or connector stays on the camera, while a matching receiver remains on the strap. These parts allow the strap to be detached, but their locks and attachment methods differ. Use the instructions for the particular connector rather than threading it like an ordinary buckle.
Thread a conventional webbing strap
To attach a conventional camera strap with two narrow webbing ends and sliding buckles, place the camera on a stable surface. The following is an example of attaching a camera strap with this type of buckle. The strap’s own instructions take priority: follow its diagram for the threading direction and buckle path.
- Find the camera’s strap eyelet and pass one narrow end through it from below.
- Bring the end back to the buckle. Thread it through the buckle along the path shown in the strap’s diagram, so the webbing doubles back and lies flat. Loosen the existing webbing in the buckle if space is needed to feed the end through.
- Pull the long section to remove slack, then pull on the secured end to check that it stays in place. Leave enough tail for the buckle to retain it as specified by the strap maker.
- Repeat at the other eyelet, checking that the strap is not twisted between the two sides.
The path through the buckle creates friction against the returning webbing. If the end merely passes through once and hangs loose, it may slide under load. A diagram of how to attach a camera strap is worth keeping nearby until both ends match the intended path.
Set the length and test the connections
Adjust the strap so the camera rests where it can be reached comfortably without swinging into the body at every step. A shoulder carry may call for a different length from a neck carry. After changing the length, smooth the webbing through each buckle and inspect both tails again; adjustment can shift the folds that hold them.
For a quick-release system, fastening a camera strap means seating each connector in its matching receiver and engaging its lock according to the maker’s directions. Test each connection separately with a firm pull while supporting the camera close to a padded surface. Then lift it just above that surface and allow its weight to settle onto the strap. Check a bottom mount or plate for movement as well.
Attaching the camera strap securely also requires an occasional look at wear. Fraying webbing, a cracked buckle, an exposed wear indicator on an anchor, or a loose screw is a reason to stop using the affected part and replace or refit it according to its maker’s instructions.
If a tail creeps through a buckle during the pull test, the threading or available tail length needs attention. Supporting the camera, rethreading that end along the correct path, and testing both sides again will reveal whether the connection now holds.