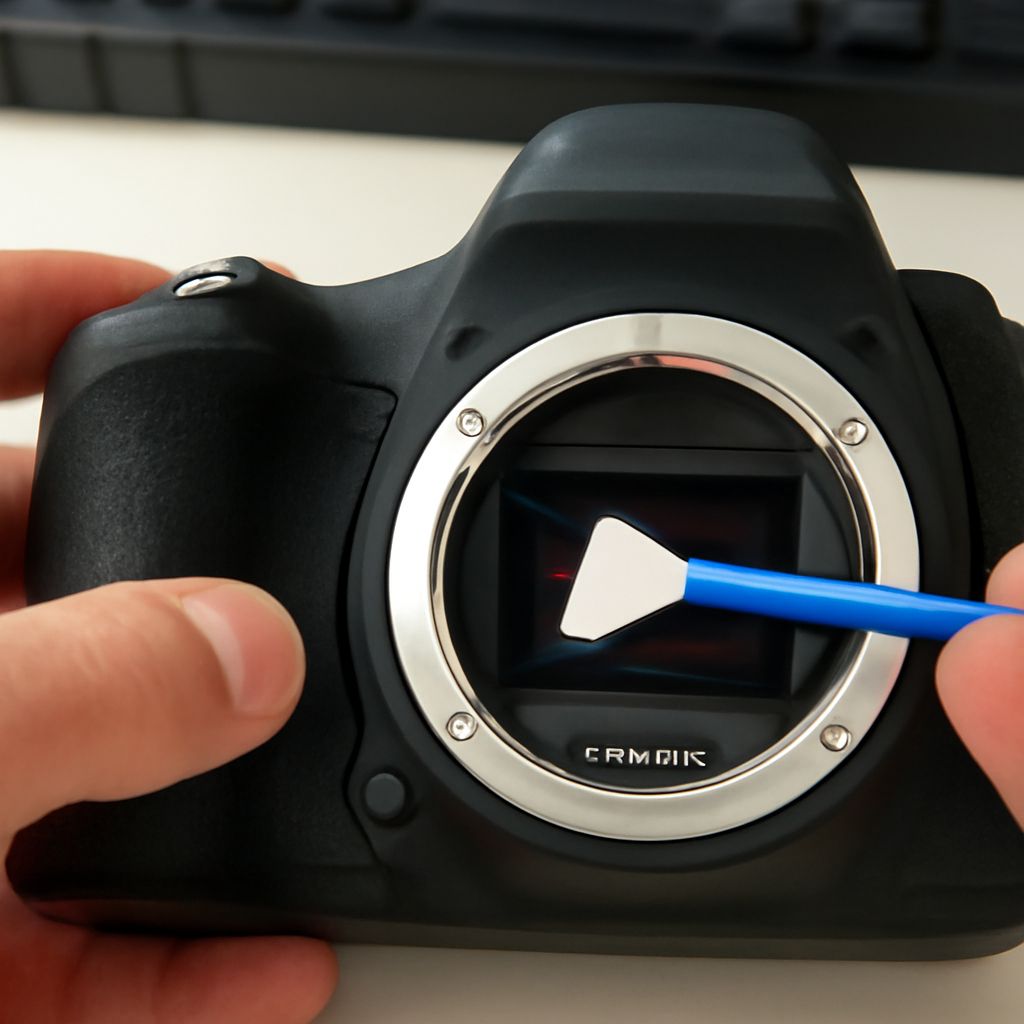
A soft gray spot that appears in the same place across several photographs may be easier to see against a pale sky than against a busy scene. Cleaning a camera’s sensor may remove the cause, but a simple test and the camera’s own instructions should come first.
Dust can settle on the protective surface in front of the image sensor when a lens is changed. A mark in a picture is a clue rather than a diagnosis: marks on a lens, a filter, or the scene itself deserve a look too. The following steps help distinguish a likely sensor spot and choose a method appropriate to the camera.
Make a test frame
Photograph an evenly lit, plain surface such as a white wall or sheet of paper. Use aperture priority and a relatively small aperture such as f/11, with low ISO and the surface deliberately out of focus. The blur reduces distracting surface texture while making dust shadows easier to see. Keep the exposure bright enough to inspect without clipping the entire frame to pure white.
View the image at magnification and scan across it. Take another frame after moving the camera relative to the wall. A mark that stays in the same position in the frame is consistent with dust on the sensor path; a mark that moves with a feature on the wall belongs to the subject. If possible, compare another lens after checking its exterior. Identical fixed spots across lenses strengthen the case for dust inside the camera.
Clean a camera sensor with the built-in option first
Many cameras have a sensor-cleaning function in their menu. Check the manual for the model, charge the battery as instructed, and run the function. Then repeat the test with the same lens, aperture, and plain target. Comparing the two frames at the same magnification shows which marks have changed.
If spots remain, look up how to clean a camera sensor in the manufacturer’s instructions for that exact model. Cameras differ in how the shutter, mirror, stabilization system, and cleaning mode are handled. A method for one body is not automatically the right sequence for another.
Choose the next step for the camera
If the manufacturer permits a hand blower, work in a clean, calm place and follow its sequence for removing the lens and positioning the body. Keep the blower tip clear of the internal surfaces. Use a plain hand-squeezed blower rather than canned or compressed air. For example, Sony’s guidance for applicable cameras cautions against compressed air and touching the sensor; consult the instructions for the actual model before proceeding.
The surface is delicate. Avoid touching it with fingers, ordinary cloths, or lens-cleaning tools. If the model’s instructions do not permit a method, do not substitute a kit based on a different camera’s guide. Cleaning the sensor of a camera by contact requires the correct materials and technique; a service technician is a sensible choice for adhered marks or uncertainty about the procedure.
Know when to stop
Stop if a mark appears smeared, the camera displays an error, the shutter or mirror does not behave as the manual describes, or the spot remains after the permitted non-contact steps. A professional can inspect the camera and decide whether the mark needs a different treatment. Repeated attempts with an unfamiliar tool can turn a small speck into a more serious problem.
After cleaning the camera’s image sensor, take another out-of-focus photograph of the same plain surface at the same aperture. Compare the positions of the spots with the first frame. If a mark remains, save both images and show them to an authorized service provider along with the camera model and the steps already tried.