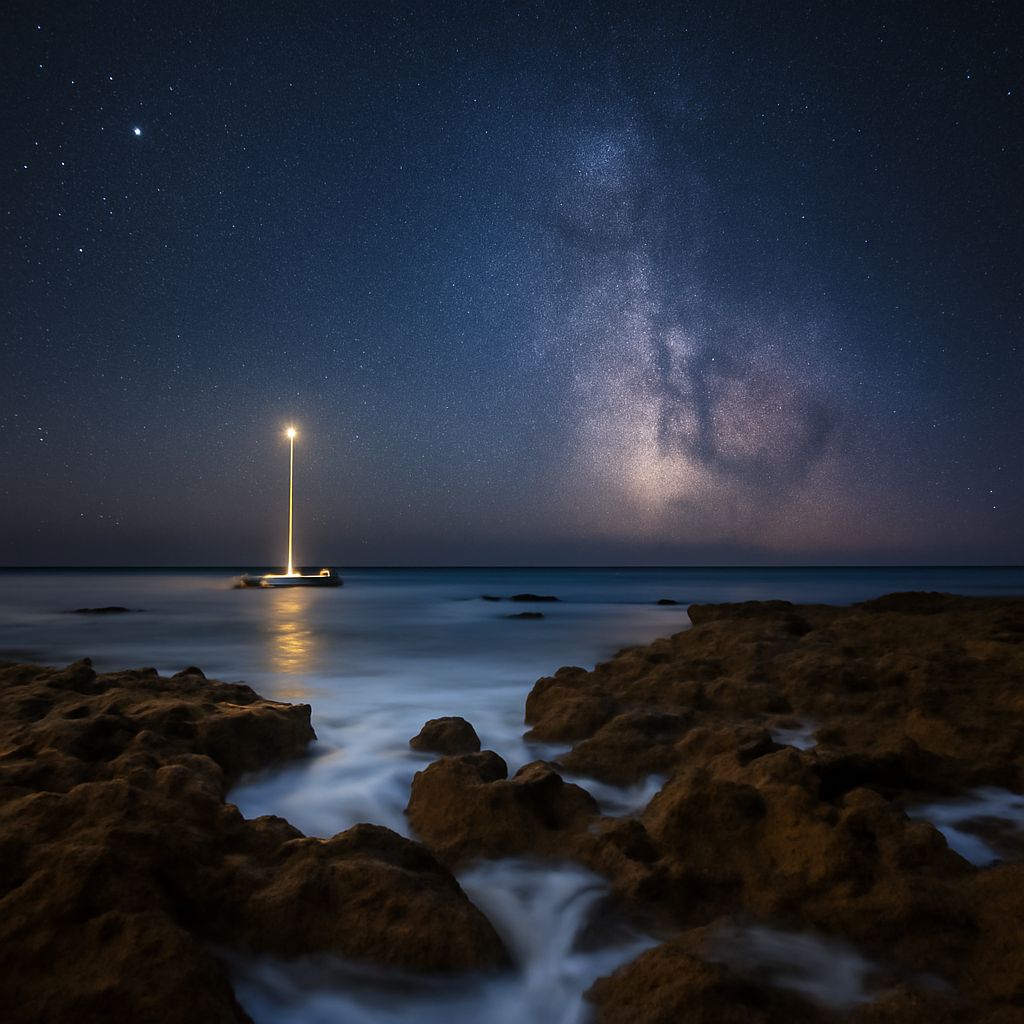
To photograph the Milky Way and the moon well, start with the same night-sky workflow: plan the scene, stabilize the camera, focus manually, and save in RAW. Then split the exposure strategy, because the Milky Way is extremely dim while the moon is lit by sunlight and needs a much faster exposure.
If you want sharp stars and usable lunar detail, the difference is mostly about shutter speed, aperture, and ISO. The rest is disciplined setup and quick field checks.
Night-Sky Planning and Shared Setup
Choose a dark location with an open view of the sky and foreground elements that help the frame, such as rock, trees, or a ridgeline. For the Milky Way, avoid bright moonlight if possible; for the moon, consider where it will sit in the frame and how its angle changes the scene.
- Tripod: Use a sturdy one and turn off image stabilization on the camera or lens when mounted.
- Lens: A wide-angle lens helps with the Milky Way. A longer lens is better for lunar detail.
- File format: Shoot RAW to preserve shadow detail and highlight recovery.
- Focus aids: Use live view magnification and a bright flashlight or headlamp for setup only.
Manual focus matters for both subjects. Autofocus often hunts in low light, and a tiny focus miss is obvious in star points and crater edges. Set focus before the exposure run, then recheck after bumping the tripod or changing focal length.
How to Photograph the Milky Way: Settings and Focus
For how to photograph the Milky Way, use a starting point that keeps stars sharp before they turn into short trails. A common baseline is f/1.8 to f/2.8, 10 to 20 seconds, and ISO 3200 to 6400. On full frame, 15 to 20 seconds is often workable with a wide lens; on APS-C or at longer focal lengths, shorten the shutter to limit star motion.
Focal length affects both composition and star blur. A 14mm or 16mm lens captures more sky and tolerates a longer shutter. At 24mm, stars move faster across the frame, so exposure time must drop. If the stars stretch, shorten the shutter first, then raise ISO to compensate.
Focus manually on a bright star or distant light using live view magnification. Make the star as small and crisp as possible, then lock focus. If your lens has an infinity mark, do not trust it blindly; many lenses focus slightly before or after true infinity.
Compose for depth: include a silhouetted tree, rock, tent, or ridge to give the sky scale. A low horizon also leaves room for the Milky Way core when it climbs higher in the season.
Moon Photography: Settings and Focus
Moon photography uses a very different exposure because the moon is sunlit. Start around ISO 100 to 400, f/5.6 to f/8, and 1/125 to 1/500 second, then adjust for phase, cloud cover, and focal length. A full moon usually needs a faster shutter than a crescent, but the surface stays bright enough that high ISO is rarely necessary.
For detail, use a longer focal length if you can. A 200mm lens gives a recognizable disk; 300mm or longer reveals more crater structure and edge texture. Long lenses also magnify shake, so a tripod and a remote release help keep the image steady.
Focus manually on the lunar edge or a high-contrast crater line using live view magnification. The moon is bright enough that live view usually gives a clean focus target. If you are shooting a half or gibbous moon, watch the transition between light and shadow for the sharpest texture.
Unlike the Milky Way, the moon rewards a brighter but controlled exposure. If you expose too long, the highlights clip and the surface loses texture quickly.
Review Histogram and Magnified Previews in the Field
Check the histogram after every test frame. For the Milky Way, a histogram weighted left is normal, but avoid crushing the blacks so hard that the sky becomes a featureless block. If the graph is jammed against the left edge, add a stop of ISO or lengthen the shutter slightly.
For the moon, protect the highlights. If the brightest parts of the lunar surface are clipped, shorten the shutter first. You should still see surface shading and crater contrast in the preview.
Use magnified playback to confirm two things: stars should look like points, not short dashes; the moon should show crisp edge detail instead of a soft glow. Recheck focus after changing focal length, after touching the tripod, and after temperature drops, since both can shift focus and framing.