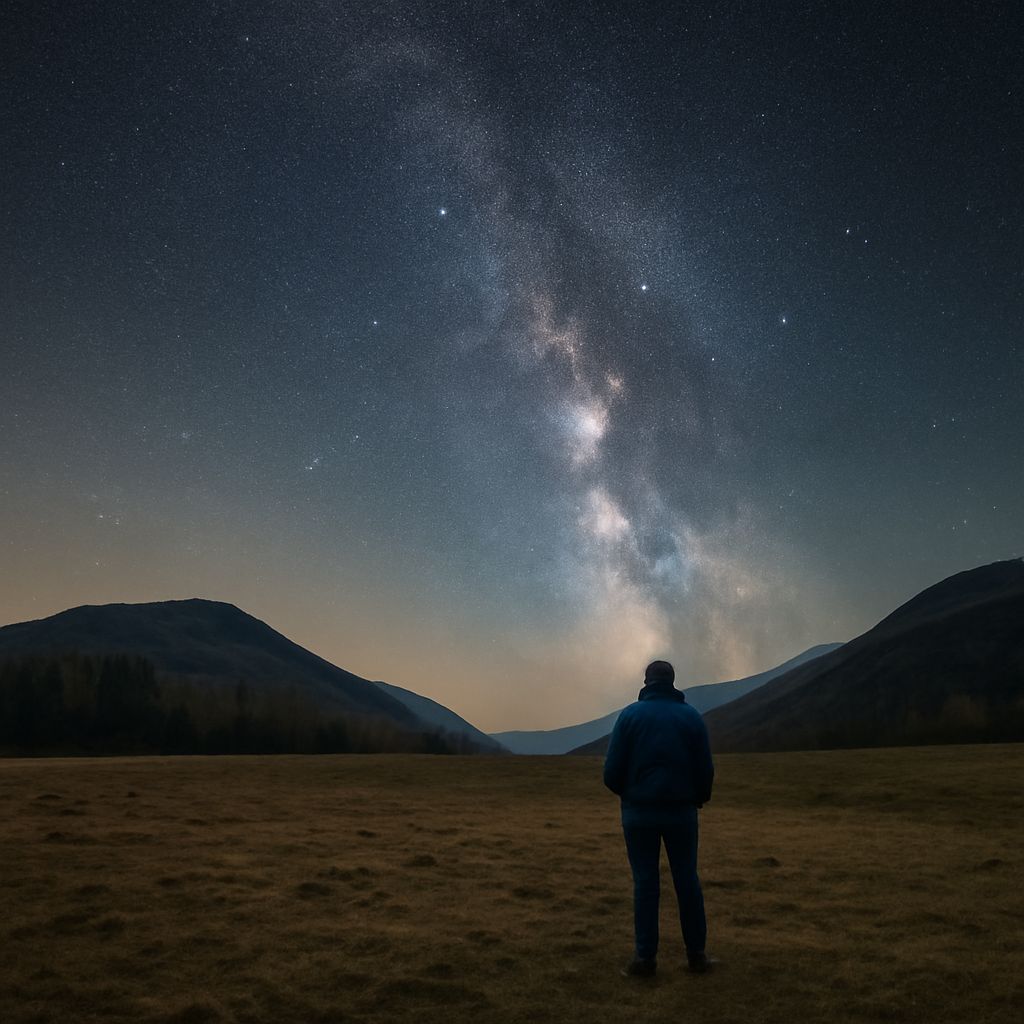
To learn how to photograph the Milky Way with a DSLR, start with a sturdy tripod, a wide fast lens, and manual exposure. A reliable first setup is f/1.4–f/2.8, 15–20 seconds, ISO 1600–6400, and manual focus near infinity. Refine those settings after checking star sharpness and the histogram.
Shoot in RAW if available, switch off image stabilization when the camera is locked to a tripod, and use a two-second timer or remote release to prevent movement when pressing the shutter.
Choose a Fast Lens and Maximum Aperture: Aperture Differences, Light, and Sharpness
A wide lens makes it easier to include a large section of sky while limiting visible star movement. On a full-frame DSLR, a focal length around 14–24mm is a useful starting range; on a crop-sensor body, approximately 10–18mm provides a similar view. Choose the fastest lens you can use comfortably, such as one with a maximum aperture of f/1.4, f/1.8, or f/2.8.
The maximum aperture is the lens’s widest opening. Lower f-numbers admit more light, allowing a shorter shutter speed or lower ISO. That matters because the Milky Way is dim and a longer exposure makes stars trail. The aperture differences between f/1.4 and f/2.8 represent two stops: f/1.4 gathers four times as much light.
Wide-open shooting is not always optically perfect. Some lenses show soft corners, coma, or stretched stars at their maximum aperture. If stars near the edges look poor, stop down one-third to one stop, such as from f/1.4 to f/2 or from f/2.8 to f/3.5. You will lose light, so compensate with a higher ISO or slightly longer shutter speed while watching for trails.
DSLR Camera Definition: Locate Manual Shutter, Aperture, ISO, and Focus Controls
A DSLR is a digital single-lens reflex camera: it uses a mirror and optical viewfinder to show the scene through the taking lens. For night photography, the important feature is not the mirror itself but access to manual controls. Set the mode dial to M for manual exposure.
Locate the command dial or dials for shutter speed and aperture, the ISO button or menu, and the lens or body switch that changes autofocus to MF. Find the playback and magnification controls as well; they let you inspect stars at high enlargement without changing the exposure.
Set Shutter Speed, ISO, and Focus Before Stars Trail
Use this order at the camera:
- Mount and stabilize: Attach the DSLR to a tripod, frame a bright section of sky, and turn off the flash. Use a timer or remote release.
- Set the aperture: Begin at the lens’s maximum aperture. Stop down only if corner coma or softness is distracting.
- Choose the shutter speed: Start at 15–20 seconds. A 500-rule estimate is 500 divided by focal length for full-frame cameras, but high-resolution sensors often need a shorter result. At 20mm, test 15 seconds; at 14mm, test 20 seconds.
- Set ISO: Begin around ISO 3200. Use ISO 1600 if the sky is bright or ISO 6400 if the Milky Way remains too dark. Higher ISO brightens the file but also reveals noise and reduces highlight headroom.
- Focus manually: In live view, magnify a bright star or distant light and adjust the focus ring until it is a smallest, crisp point. Do not assume the hard-stop infinity mark is exact. Tape the ring in place after focusing.
- Make a test frame: Review the image at high magnification. If stars are short lines, reduce shutter time; if they are sharp but dim, raise ISO before extending the exposure.
How to Photograph the Milky Way: Compose and Verify the Frame
Compose after making the technical settings. Place the Milky Way diagonally or vertically through the frame, and include a recognizable foreground such as a ridge, tree line, or rock formation. Leave enough space around the brightest star clouds so the composition does not feel cramped. A dim red headlamp helps preserve night vision while you work.
Check the histogram rather than judging only the rear screen. The graph should usually form a compact peak toward the left without being pressed against the edge; the sky is naturally dark, but a clipped left edge can indicate lost shadow detail. Make another frame if the Milky Way lacks structure, highlights are clipped, or foreground detail disappears. Adjust ISO, shutter speed, or aperture one change at a time so you can identify which setting improves the result.