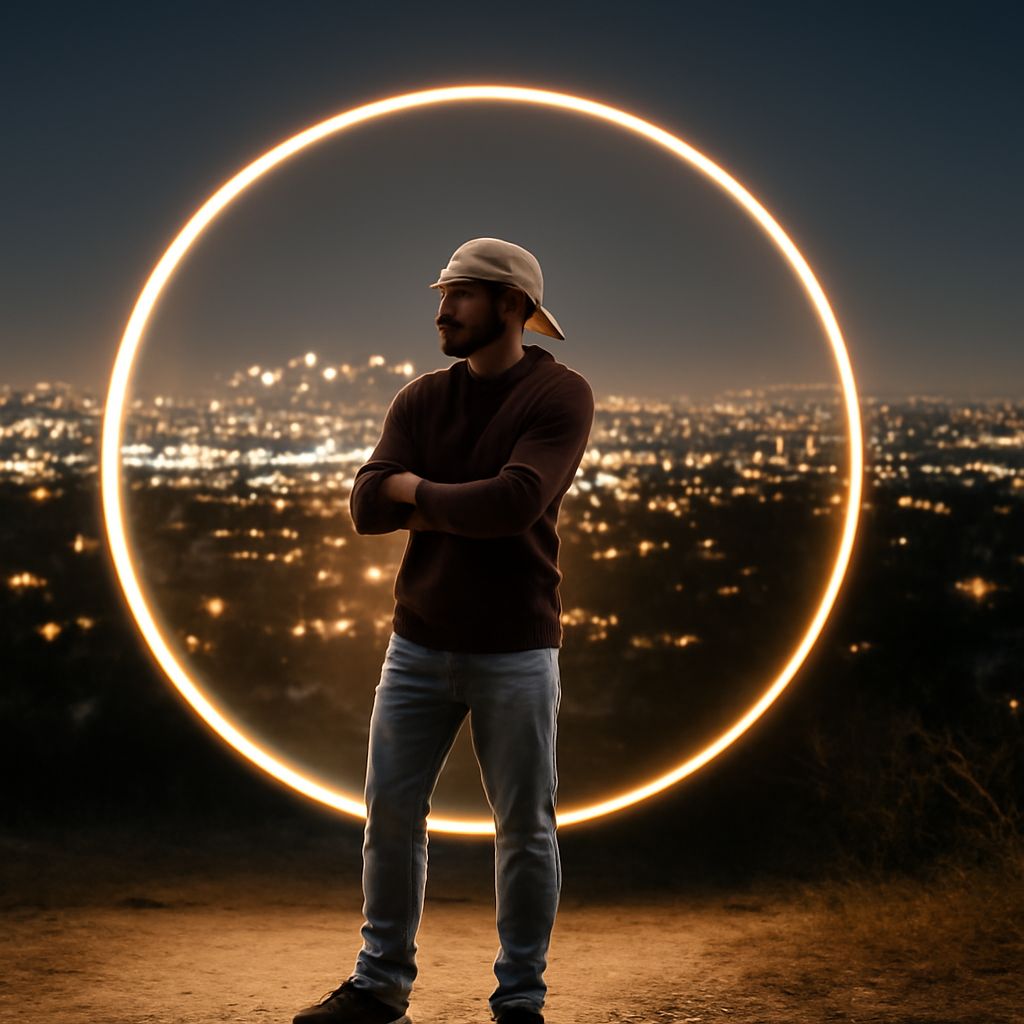
Light drawing photography, also known as light painting, is a mesmerizing art form that lets you create stunning visual effects using light sources. By manipulating light, photographers can craft captivating images that appear to glow and move. Whether you’re a beginner or have some experience, mastering this technique can add a unique flair to your photography portfolio. This guide will take you through the essentials of light painting, from understanding the concept to executing your first masterpiece.
Understanding Light Drawing Photography
Light drawing photography involves using handheld lights to “paint” or “draw” in a scene during a long exposure shot. As the camera’s shutter remains open, the light source creates trails or shapes over time, capturing intriguing patterns and designs. The key to success lies in controlling both the movement of the light and the exposure settings on your camera. This technique allows you to experiment with various forms of expression, ranging from abstract designs to recognizable shapes and words.
Essential Tools and Equipment for Light Painting
To start light painting, you’ll need some basic equipment. A DSLR or mirrorless camera with manual exposure controls is essential. You will also require a sturdy tripod to keep the camera steady during long exposures. A variety of light sources can be used, such as flashlights, LED wands, or even sparklers, depending on the effect you desire. Additionally, remote shutter release can be helpful as it lets you start and stop exposure without touching the camera, preventing any shake or movement.
How to Light Paint: Step-by-Step Instructions
- Set Up Your Camera: Mount your camera on a tripod for stability. Adjust your camera to manual mode and set the exposure time to several seconds, typically between 10 to 30 seconds, depending on your desired outcome.
- Choose Your Light Source: Select a light source that suits your creative vision. For beginners, a simple flashlight can be a good starting point.
- Frame Your Shot: Compose your shot before starting the exposure. This will help you visualize where you want the light trails or designs to appear.
- Begin Painting: Use your light source to “paint” in the air, creating the shapes or patterns you desire. Move swiftly but deliberately; slower movements will create more pronounced light trails.
- Review and Adjust: After the exposure is complete, review your image. Adjust your technique or settings if necessary and repeat until you achieve your desired effect.
Tips for Capturing Stunning Light Paintings
- Experiment with Different Light Sources: Try using colored LED lights or filters to add variety and depth to your images.
- Control Your Environment: Ensure the surroundings are dark to maximize the contrast between the light and background. Indoor settings or secluded outdoor areas work best.
- Refine Your Movements: Practice creates precision. With time, you’ll learn how to control the size and shape of your light strokes for more detailed illustrations.
- Play with Exposure Settings: Adjust ISO, aperture, and shutter speed to see how they affect your results. Lower ISO values and smaller apertures often yield sharper images.
With these techniques and insights, you’re well on your way to mastering photography light painting. Each session can be a new opportunity to explore your creativity and capture awe-inspiring visuals. Remember, practice is key, so keep experimenting to discover your personal style in the illuminating world of light drawing photography.