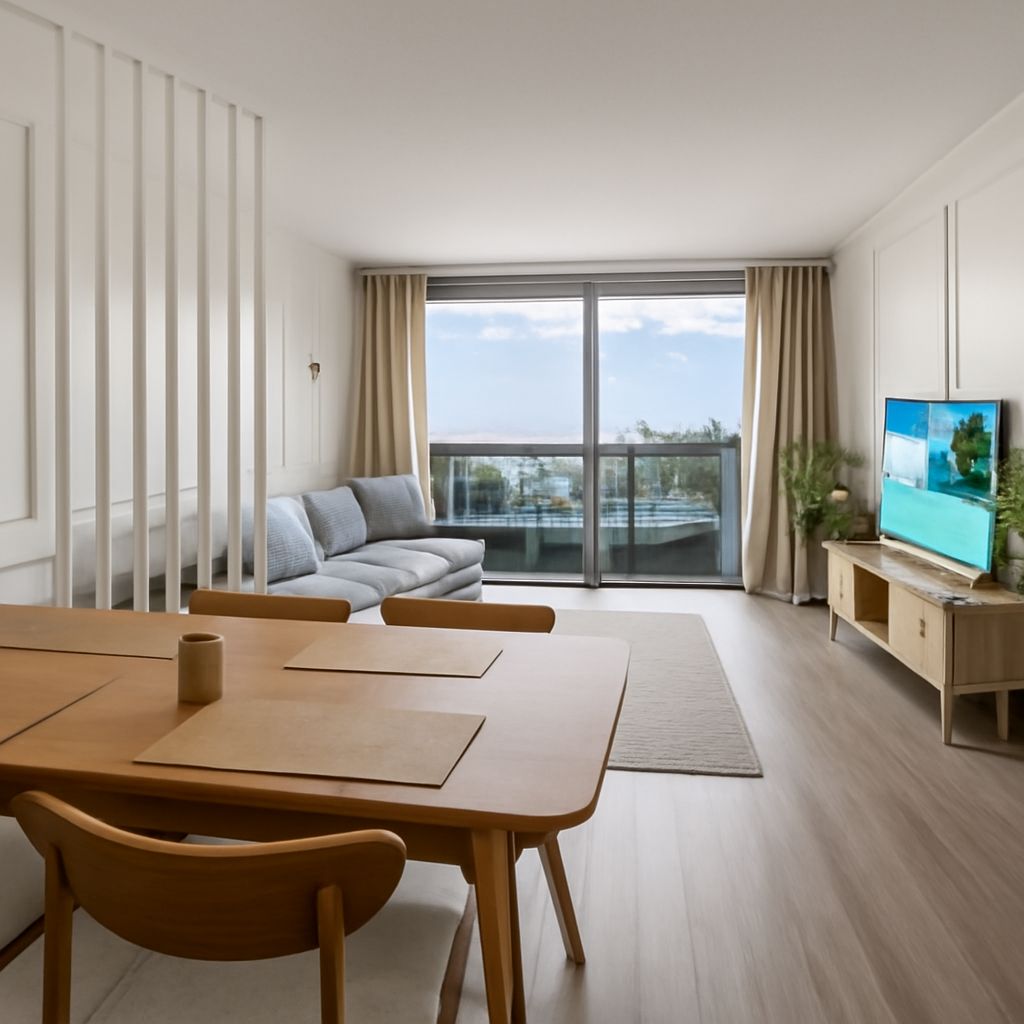
A doorway at the edge of a lobby photograph can explain more than a sweeping view of polished floors: it shows where the next room begins. A professional photographer documenting commercial property can use that small connection to help a prospective tenant understand how the building works.
Commercial Real Estate Photography Starts With a Route
Before unpacking the camera, walk the property with the client and identify the intended audience and important features. Commercial real estate photography might document a storefront, office, warehouse, or mixed-use building; each calls for a different account of access and function. The word “commercial” describes the property. A professional service describes the photographer’s work and can also be commissioned for homes or other kinds of property.
Build a shot list in the order a visitor might encounter the site. An office assignment could include the exterior and entrance, reception, a corridor leading to work areas, a representative office, meeting rooms, and shared facilities. A warehouse may need loading access, circulation space, and a view that makes the relationship between storage and work areas understandable. Confirm which spaces can be photographed and clear private information from desks and screens before shooting.
A room-to-room sequence benefits from both broad views and connecting frames. A photograph from reception toward the corridor, followed by one looking back, can show how those areas join. A detail of a door or finish can add character, but the sequence should first let a viewer locate it in the building.
Choose a viewpoint that respects the room
Professional real estate photography depends on choices made before the shutter opens. Set the camera on a tripod and use its level or grid to keep walls and doorframes upright. Tilting upward can make vertical lines converge; a level camera reduces that effect. Nikon’s composition guide explains how gridlines assist with alignment.
A wide-angle lens can include more of a small space, but an extremely close foreground can look disproportionately large compared with the far wall. Step back where possible, choose a view that shows the room’s function, and compare edges of the frame for stretching. If one image cannot show the room without exaggeration, two complementary views can explain it more honestly. A doorway, table, or chair gives the eye a familiar reference for scale.
When a professional photographs real estate, straightening can refine a slight tilt afterward. Heavy perspective correction, however, crops the image and may stretch areas near its edges. It is easier to judge proportions on location than to repair an awkward viewpoint later.
Balance the light and preserve the view
Windows and interior fixtures often produce a mixture of daylight and warmer or cooler artificial light. Start by noting which sources are on and whether they help describe the space. Switching off a conflicting fixture, opening shades, or adding controlled light may make the room more consistent; retain enough of the existing atmosphere to show how it is used.
For a bright window and a darker room, a tripod allows separate exposures for the interior and the view outside. A careful blend can preserve detail in both, provided the resulting scene still looks plausible. Check that the view belongs to that window and that reflections and edges do not betray a poor blend. During commercial property photography, a readable window can help explain orientation and surroundings as well as supply light.
Edit as a coherent series
Professional property photography works best as a sequence with related brightness and color, while allowing rooms with different light to retain their character. Correct modest color casts, level the frame, and recover details without removing permanent features or changing the apparent size of the space. Retain originals and identify material alterations when required by the intended listing service or local rules. The National Association of REALTORS® discusses how edits can change a viewer’s understanding of a property.
Before delivery, review the commercial property photographs in room-to-room order. Each image should make the route legible, keep verticals convincing, carry light consistently, and leave a viewer with an honest sense of the room’s proportions.