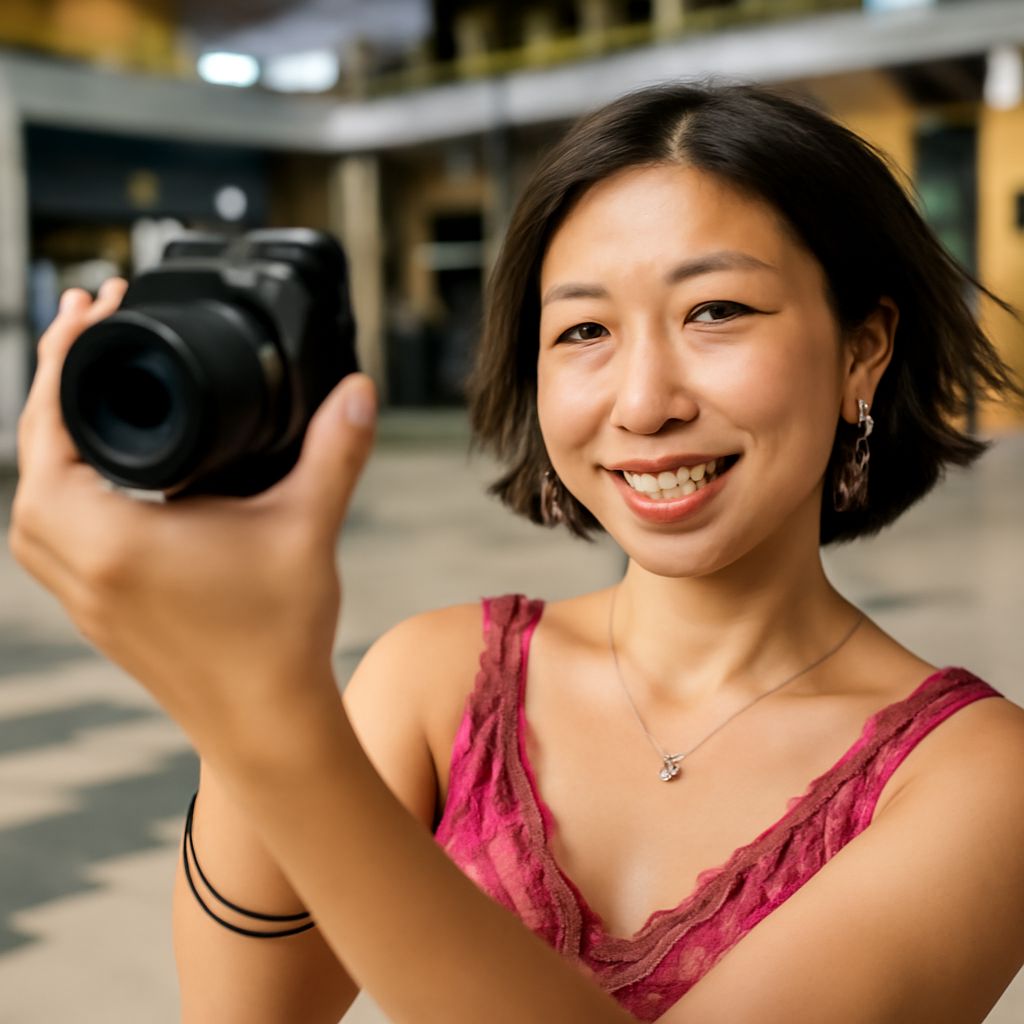
How can a portrait show what a place means to the person in it? Begin by choosing the setting together, then give the person and a few meaningful details room to share the frame. Portraits made in a person’s environment can reveal an occupation or a personal history through the relationship between a face, a gesture, and the things nearby.
Environmental Portraits Begin With a Conversation
A workshop may contain hundreds of tools, but the one a maker reaches for each morning can say more than a wall full of equipment. Ask the person which places and objects matter to them and why. Their answers might lead to a kitchen table, a rehearsal room, or a corner of a garden. The setting does not need to look impressive; it needs to have a connection the subject recognizes.
Discuss what can appear in the picture and how the image will be used. A family photograph, a note on a wall, or a document on a desk may contain details the person prefers to keep private. Agree on what to move or leave out before arranging the scene. Invite the subject to suggest a gesture or activity that feels natural, and allow time to review the frame together.
Decide How Much Place to Include
An environmental portrait needs enough context for the viewer to understand the setting while keeping the person easy to find. Start with a wider frame, then step closer and make another. In the wider view, a baker might stand among worktables and trays; in the closer view, flour on an apron and a hand resting on the table may carry the same idea with fewer competing details.
Distance also changes how features relate to the surroundings. A camera held very close can make the nearest hand or object look disproportionately large. Stepping back and using a moderately longer focal length can make those relationships appear more natural while still including the room. Leave enough space around the subject to avoid awkward overlaps, such as a shelf appearing to grow out of the head.
Portraits in their surroundings benefit from a clear visual path. Look around the edges of the frame for bright signs, open doors, or objects that pull attention away. Reposition the camera or subject before moving possessions: a small shift can separate a face from a busy background and preserve the character of the place.
Use Light to Lead the Eye
Notice where existing light falls before adding equipment. A window can illuminate the face while allowing the room behind it to remain visible. Turn the subject gradually toward the window and watch how the light moves across the eyes and cheek. If the background is much brighter than the face, moving away from a window directly behind the subject can make exposure easier to balance.
A lamp in the scene can establish atmosphere, but its shade or bulb may become the brightest point in the picture. Change the angle or position it farther from the face if it distracts. A white card placed outside the frame can reflect window light into a dark side of the face. Check that the subject remains comfortable and can hold the chosen position.
Choose the Frame That Makes the Connection Clear
After making several environmental portraits, compare what each image asks the viewer to notice first. If the setting overwhelms the person, choose a closer frame or a simpler background. If the place no longer explains anything, choose the wider view or include the object the subject identified as meaningful. For portraits set in a person’s environment, the strongest choice is the frame where both the individual and that specific connection remain visible.