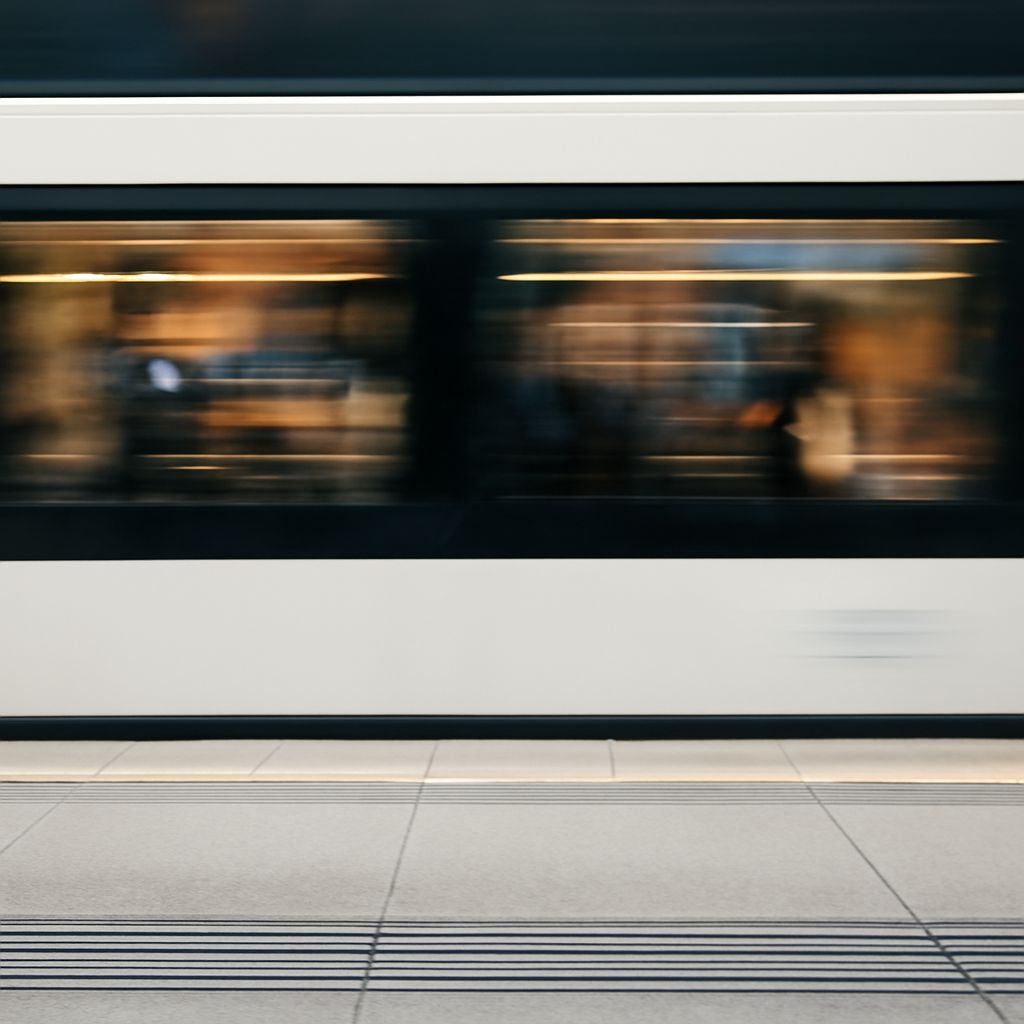
A row of windows becomes a bright streak when a train passes through a photograph. In another frame, the same windows can be sharply separated, each reflecting a different part of the landscape. Photographs of trains depend on that choice: whether the main subject is movement through a place or the structure of the machine itself.
Train Photography Begins With a Viewpoint
A permitted public viewpoint can provide more than a clear view of a train. A station building, a hillside, or a distant skyline gives the subject a setting and helps establish scale. From a wider frame, a long train may read as a line crossing the landscape; from closer within the permitted viewing area, its front or side can dominate the composition.
Photographing a train within its surroundings makes the direction of travel part of the arrangement. Space ahead of a moving train can suggest where it is going, while a longer view behind it can show its length. A curve may reveal several cars at once, giving the image a sense of depth. The frame should leave enough room for the train to remain legible without making the surroundings incidental.
Train photography can also use fixed elements to organize the picture. A roofline or platform edge may lead the eye toward the subject, while a patch of shadow can separate it from a bright background. A few test frames before the train enters the scene help reveal distracting signs, cut-off structures, or a background that competes with the intended subject. All photographs should be made from places open to the public and in accordance with local access rules.
Choose Between Sharpness and Motion
A fast shutter speed records a shorter slice of time and can render a moving train sharply. Around 1/1000 second is a starting point for a quick subject, but the result depends on speed, distance, direction, and lens choice. A train moving across the frame may need a different setting from one moving more directly toward the camera. A test image at full size shows whether the lettering and edges are as sharp as intended.
For photography of a moving train, continuous autofocus can follow the subject where the camera offers it. A short burst increases the choice of moments, but focus and composition still need checking. In dim light, a fast shutter may require a wider aperture or higher ISO; the latter can introduce visible noise. The tradeoff is worth assessing in the actual light rather than applying one setting to every scene.
Panning offers another interpretation. The photographer follows the subject smoothly across the frame during a longer exposure, allowing the background to blur while part of the train remains relatively sharp. A speed such as 1/60 second can be a starting experiment, not a guaranteed result. Several frames may be needed, and a stable position in a permitted public area leaves room to concentrate on the image. The blur becomes meaningful when it supports a readable subject rather than obscuring every detail.
Details and the Final Sequence
Photographing a stationary train offers time to examine texture: worn lettering, a reflection in glass, or the repeated shape of doors. A photograph of railway equipment can make a strong study of form, but a detail alone may not explain its size or place. A wider companion image can show the relationship between the object, the train, and its surroundings.
When editing images of trains, the strongest sequence often combines different distances. An establishing view identifies the setting, a frame of the moving train gives direction, and a detail rewards closer attention. The photographs need not duplicate one another: each can answer a different question about the same encounter. A final review at full size checks focus, distracting frame edges, and whether the intended sense of motion or mechanical detail remains clear.