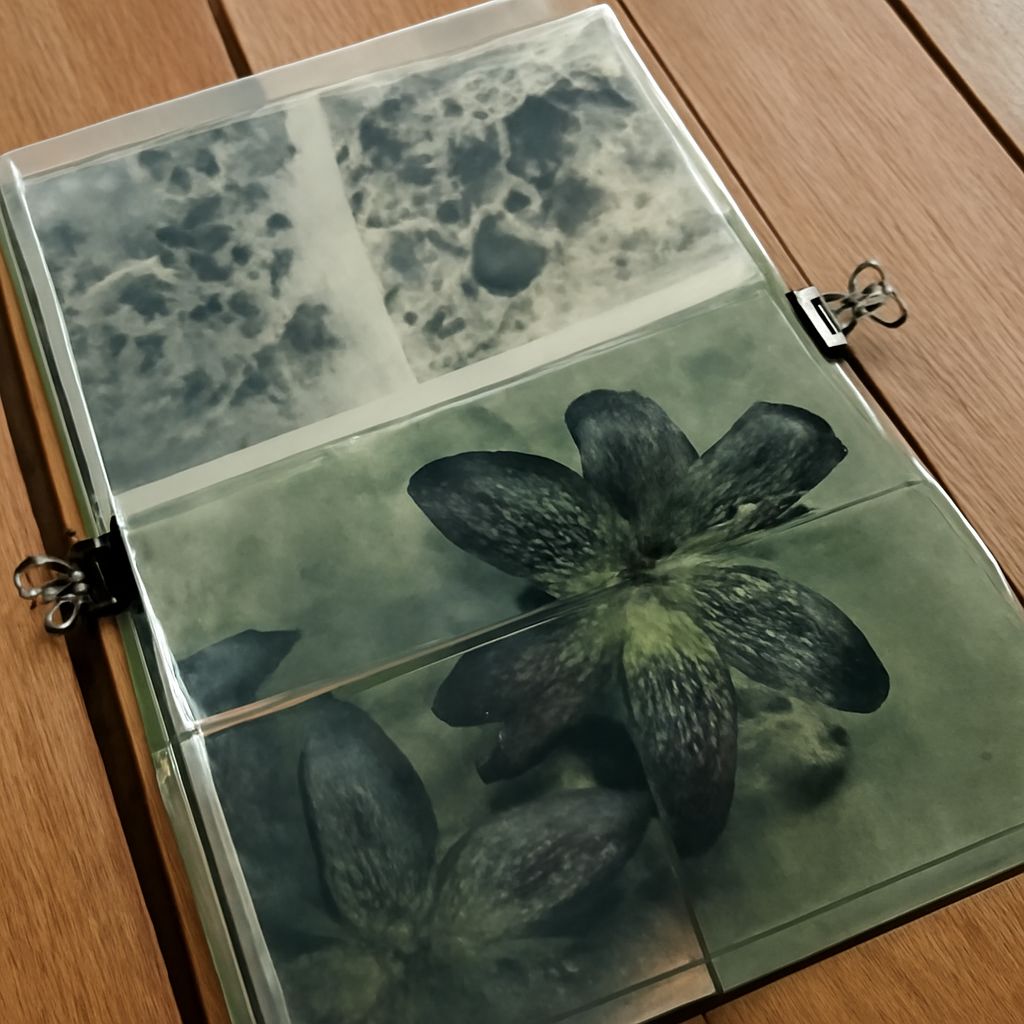
Cyanotype photography turns a photo negative into a blue monochrome print through contact exposure. The negative sits directly on light-sensitive, sensitized paper, controlling where ultraviolet light reaches the coating. After exposure and washing, the paper develops a range from near-white highlights to deep Prussian blue shadows.
The process is hands-on, but its logic is straightforward: prepare a negative, coat and dry the paper, expose the pair under ultraviolet light, then wash away the unused chemistry. Negative density, exposure time, coating quality, and washing all affect the final image.
What Is Cyanotype Photography?
Cyanotype photography is a photographic printing process that uses iron-based chemistry rather than silver-based photographic materials. A sensitizer, commonly made from ferric ammonium citrate and potassium ferricyanide, is brushed or coated onto paper and allowed to dry away from strong light.
When ultraviolet light reaches the dry coating, the exposed areas form an insoluble blue compound. A photo negative placed between the light source and the paper selectively blocks that exposure, creating a positive image. Unlike a grayscale print, the finished image is defined by a blue palette, although its tones can range from pale blue-gray to saturated navy.
How the Photo Negative Controls the Print
Orientation: Emulsion Side Against the Paper
Place the negative with its emulsion side against the sensitized paper. This keeps the image layer close to the coating, reducing light spread and producing sharper edges. A physical film negative should sit flat and make full contact; a digital negative is usually printed onto transparent film before exposure.
Contact printing does not automatically correct orientation. If the subject contains readable text or an asymmetrical shape, check whether the negative needs to be flipped before printing. A small test image can reveal a reversal before you commit to a full sheet.
Density and Contrast Shape the Tonal Range
Dense, dark areas of the negative block ultraviolet light and become light areas in the cyanotype. Clear areas transmit more light and become darker blue. This reversal is what changes the negative into a positive print.
A negative with strong density separation can produce a crisp, dramatic cyanotype, while a low-contrast negative may create a flat image with limited tonal distinction. If the negative is too dense, the print may look weak and pale. If it is too thin or the exposure is excessive, shadow areas can become uniformly dark and lose detail. Adjusting the negative’s contrast is often more effective than trying to correct every issue during washing.
Exposure, Washing, and the Blue Monochrome Result
Coat and Dry the Sensitized Paper
Apply an even layer of sensitizer to suitable paper, then let it dry completely in darkness or subdued light. Uneven coating can create streaks, brush marks, or differences in blue density that are unrelated to the negative. Handle the dry sheet by its edges and keep dust away from the surface.
Expose a Contact Print
Lay the negative emulsion side down on the coated paper and hold both layers firmly against a transparent sheet or contact frame. Expose the sandwich to sunlight or another ultraviolet source. Exposure time varies with UV strength, paper, coating, and negative density, so a test strip is the most reliable way to establish timing.
During exposure, the image may appear bronze, gray, or muted blue rather than fully developed. Judge the exposure by comparing important highlights and shadows: detail should remain visible where the negative allows some UV through, without turning the deepest areas into a featureless mass.
Wash and Oxidize the Image
After exposure, wash the paper in clean water to remove unreacted sensitizer. Change the water as needed and continue until the runoff is mostly clear. Use a gentle flow so the wet paper and image surface are not damaged.
The print may look lighter immediately after washing. As it dries and oxidizes, the blue usually deepens and becomes more stable. The finished tonal range depends on the negative and exposure, but a successful print preserves paper-colored highlights, distinct middle blues, and darker blue shadows with visible texture.
Cyanotype Versus Monochrome Photography
Monochrome photography is the broader category: an image built from one color family or from neutral tones such as black, white, and gray. Black-and-white film, sepia prints, and digitally tinted images can all be monochrome without being cyanotypes.
Cyanotype is a specific monochrome process with three defining features: iron-based sensitizer, ultraviolet contact exposure, and a characteristic cyan-to-Prussian-blue palette. Its color is part of the process, not merely an effect applied after capture. The negative also remains central, because its orientation, density, and contrast directly determine how the final blue image reads.