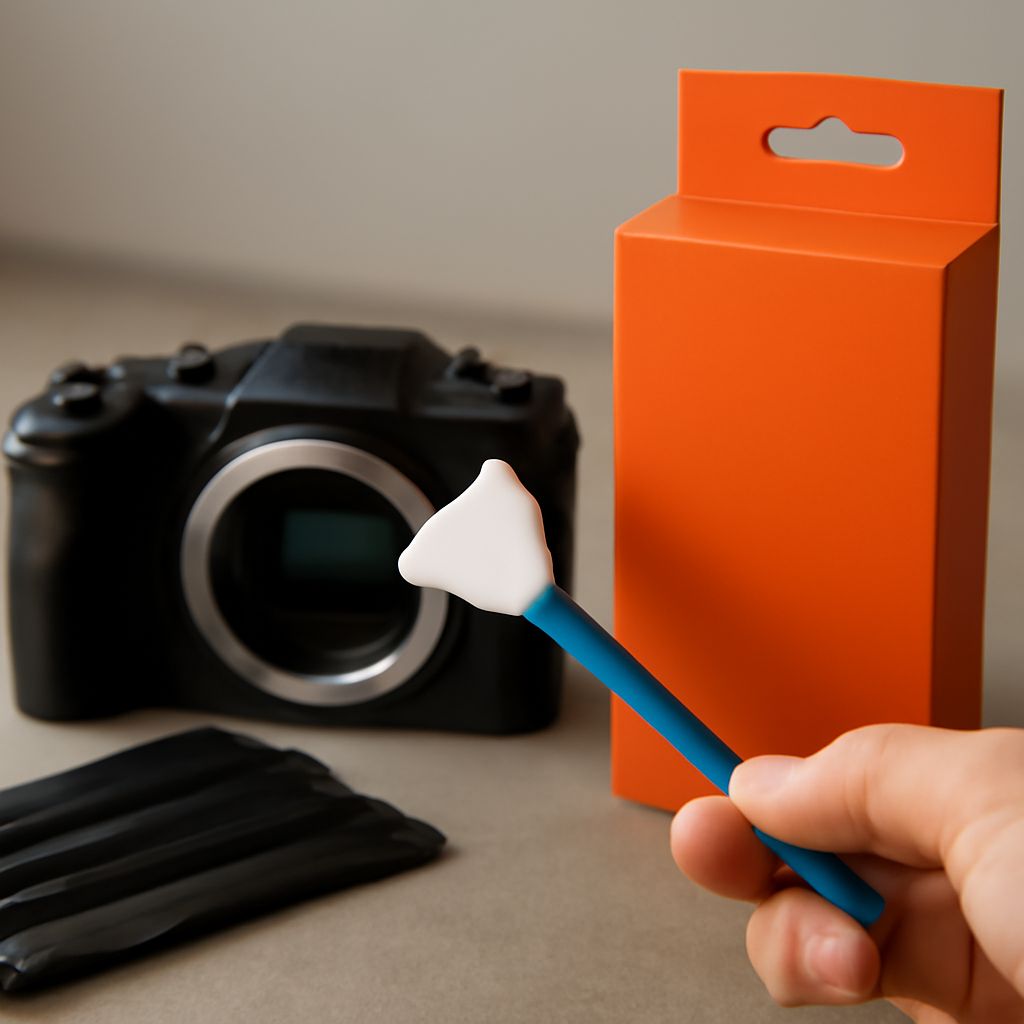
Keeping your camera sensor clean is crucial for maintaining image quality and ensuring your photos are free from annoying spots and blemishes. Dust and debris can make their way onto the sensor, especially during lens changes, and it’s important to know how to clean camera sensor surfaces safely and effectively. This guide will walk you through the cleaning process, tools required, and common pitfalls to avoid, ensuring your camera remains in top working condition.
Why You Should Clean Your Camera Sensor
A dirty camera sensor can severely impact the quality of your images. Dust spots become visible in photos, especially when shooting at smaller apertures. These imperfections can be a nuisance to remove in post-production. Regular cleaning helps prevent image degradation and ensures that your camera performs optimally, reducing the need for extensive editing later.
Tools Needed for Cleaning a Camera Sensor
To clean your camera sensor safely, you’ll need specific tools designed for this delicate task:
- Air blower: A manual air blower is essential for removing loose dust particles without touching the sensor.
- Sensor cleaning swabs: These specially designed swabs are used with cleaning solution to gently wipe the sensor.
- Sensor cleaning solution: A few drops of this specialized fluid on a swab help dissolve stubborn grime.
- Loupe or magnifier: Useful for inspecting the sensor closely to ensure all debris is removed.
Step-by-Step Guide to Cleaning Your Camera Sensor
- Preparation: Ensure your camera battery is fully charged to keep the mirror up during cleaning. Work in a clean, dust-free environment.
- Use the air blower: Remove the lens, set the camera to sensor cleaning mode, and use the air blower to dislodge loose dust particles.
- Inspect the sensor: Use a loupe or magnifier to check the sensor for remaining debris.
- Apply cleaning solution: Moisten a sensor cleaning swab with a few drops of sensor cleaning solution.
- Wipe the sensor: Gently swipe the swab across the sensor in one direction. Use a new swab if a second pass is necessary.
- Final inspection: Recheck the sensor with the loupe to ensure it’s clean. Repeat the process if necessary.
Common Mistakes to Avoid
While cleaning your camera sensor, avoid these common mistakes to prevent damage:
- Using canned air: The pressure from canned air can force debris deeper into the camera and potentially damage the sensor.
- Touching the sensor with fingers: Oils from your fingers can easily transfer to the sensor, causing smearing and marks.
- Applying excessive pressure: Gentle swiping is sufficient; excessive pressure can scratch the sensor.
- Using incorrect cleaning tools: Make sure to use tools specifically designed for camera sensor cleaning.
When to Seek Professional Help
If you notice persistent spots on your images despite repeated cleaning attempts, or if you’re uncomfortable with cleaning the sensor yourself, it’s time to seek professional help. A camera repair technician can perform a thorough cleaning using advanced tools and techniques, ensuring optimal performance and prolonging the life of your camera sensor.