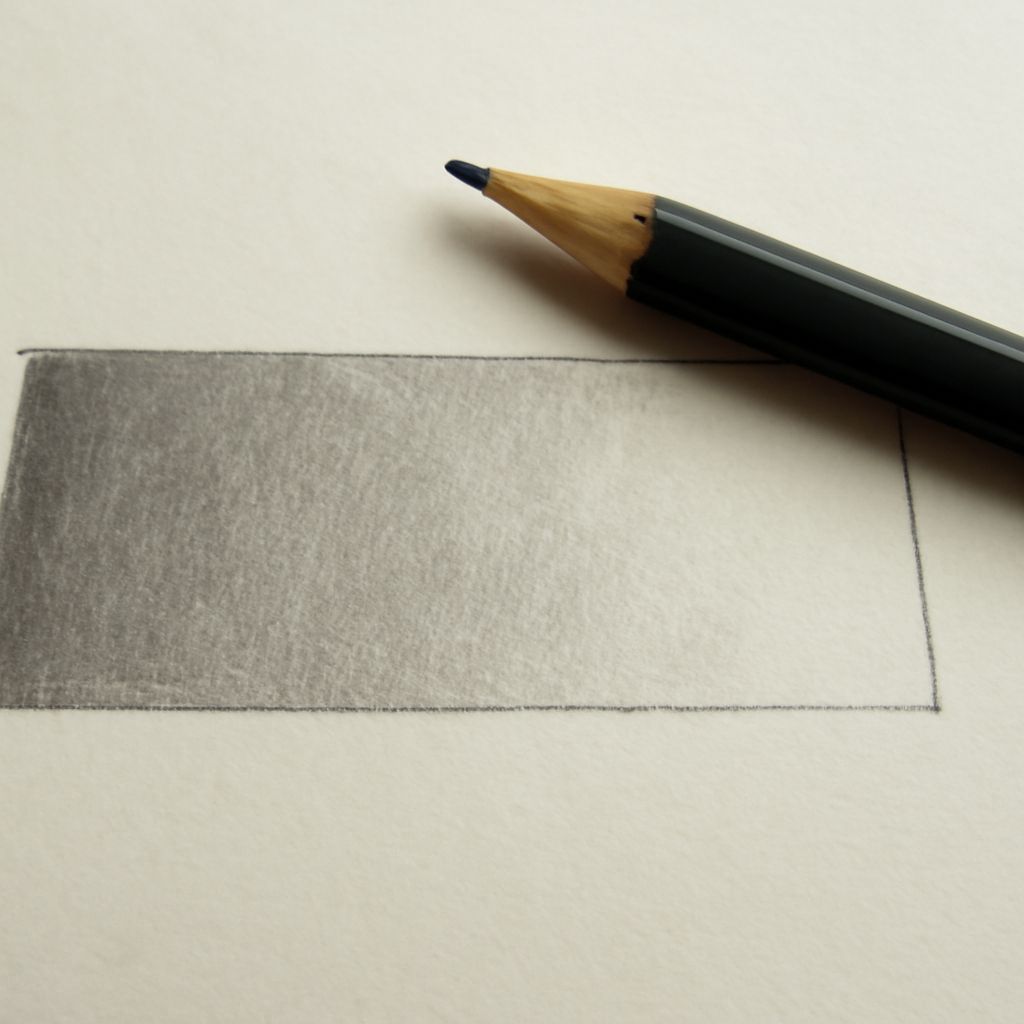
Pencil shading is a fundamental skill that can elevate your artwork by adding depth and realism. Whether you’re creating delicate portraits or dynamic landscapes, mastering pencil shading will enhance your artistic expression. In this guide, we will explore essential techniques and tips to help you achieve captivating shading effects.
Understanding Pencil Shading Basics
Pencil shading involves varying the pressure and angle of your pencil to create different tones and textures. The basic principle is to apply darker shades in areas where light is less prevalent and lighter shades where it is more pronounced. This manipulation of light and shadow gives your drawings a three-dimensional appearance.
Begin with a range of pencils, typically from HB to 9B, where the higher the number, the softer and darker the lead. Softer pencils are excellent for deep shadows, while harder pencils are better for lighter tones.
Essential Shading Techniques
Several techniques can help you achieve different textures and effects in your pencil shading, each offering unique outcomes:
- Hatching: This technique involves drawing closely spaced parallel lines. The denser the lines, the darker the area appears. It’s ideal for creating a sense of direction and movement.
- Cross-hatching: By layering lines at different angles, you can achieve a richer texture. This is perfect for adding intricate details and depth.
- Smudging: Use a blending stump or your finger to smooth out the graphite, creating soft transitions between light and dark areas. Smudging is excellent for subtle gradients and delicate shadows.
- Stippling: Create texture by applying tiny dots to the paper. The closer the dots, the darker the area. This technique is useful for mimicking textures like skin or fabric.
- Scumbling: This involves using small, circular motions to create a textured, patchy appearance. Scumbling is effective for rendering surfaces like trees or clouds.
Tips for Effective Shading
To enhance your ability to shade effectively, consider the following tips:
- Understand Your Light Source: Determine where the light is coming from in your composition. This will guide where you place shadows and highlights.
- Maintain Pencil Sharpness: A sharp pencil allows for detailed work and precision. Regularly sharpen your pencil to maintain control over your lines.
- Layer Gradually: Build up layers gradually rather than applying heavy pressure immediately. This approach gives you more control over the tone and texture.
- Use a Light Touch: Start with a light touch to establish basic forms and shadows, then increase pressure gradually for more defined shading.
- Practice Consistently: Like any skill, consistent practice is key. Experiment with different techniques and pencils to discover what works best for you.
Common Mistakes to Avoid
Even seasoned artists can fall into certain pitfalls while shading. Here are common mistakes to watch out for:
- Overworking the Paper: Too much pressure can damage the paper’s surface, making it difficult to achieve smooth gradations.
- Ignoring Light Source: Inconsistent light and shadow can lead to a flat appearance. Always keep your light source in mind.
- Using the Wrong Pencil: Each pencil has a specific purpose. Using a soft pencil for fine details can cause smudging, while a hard pencil may not provide enough shadow depth.
- Rushing the Process: Shading should be a deliberate process. Take your time to build up layers slowly for the best results.
By understanding pencil shading basics, mastering essential techniques, and applying effective tips, you can create stunning artwork with depth and realism. Remember to practice consistently and learn from mistakes to continually improve your shading skills.