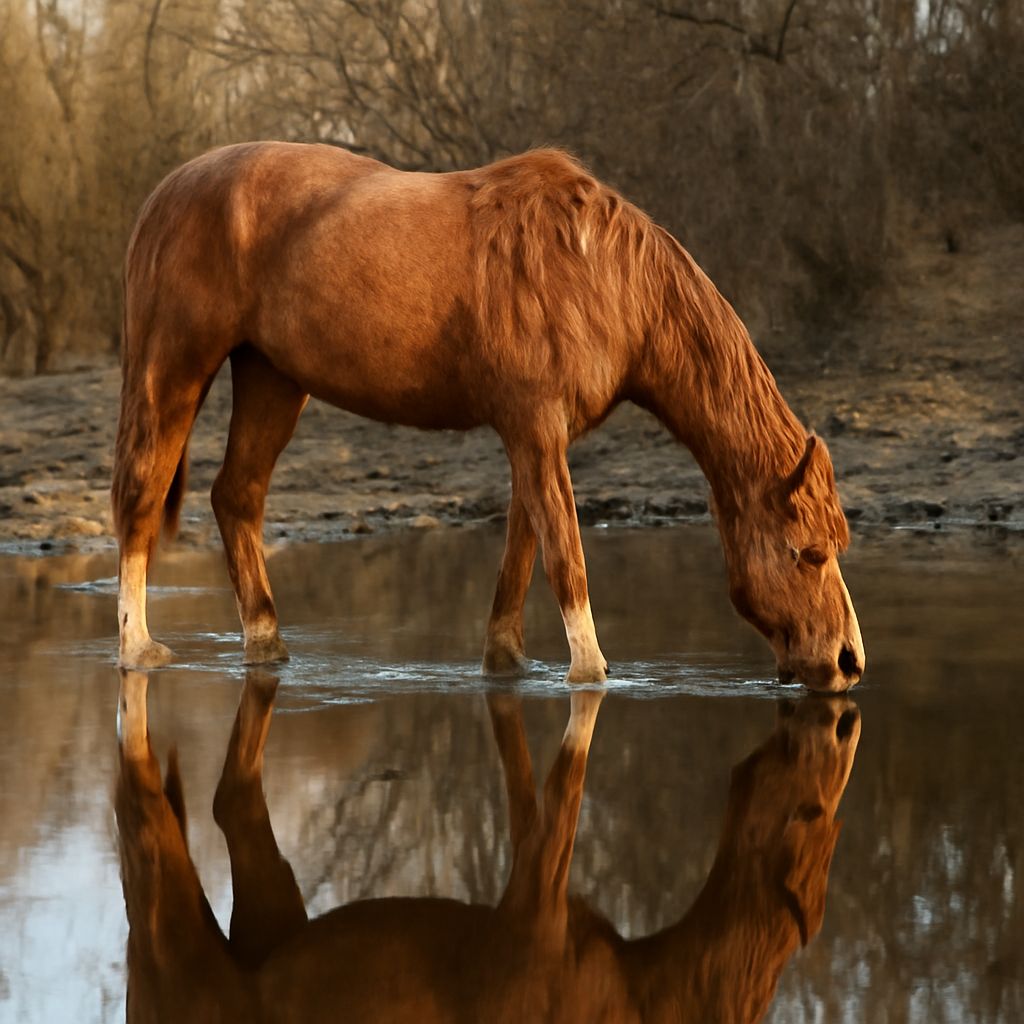
A horse’s muzzle can look enormous when the camera is only inches away, while the body recedes behind it. Step back and the proportions settle. In photographs of horses, distance changes the relationship between the nearest feature and the rest of the animal, making it one of the first creative choices to consider.
Set a comfortable distance
Begin with an experienced handler who knows the horse. Agree on the area and the movements before starting, and give both horse and handler space. Stay attentive to the animal rather than keeping an eye glued to the viewfinder. Horses can move suddenly; a calm pause is better than pressing for another frame when the animal becomes unsettled.
For a full-body horse portrait, move back and use a moderate telephoto lens if space allows. On a full-frame camera, around 85 mm is a practical starting point; on a crop-sensor camera, choose a shorter focal length that gives a similar angle of view. The camera position, rather than the lens alone, changes perspective. From farther away, the head and body are at more similar distances from the camera, so the nearest parts appear less exaggerated.
In equine photography, a view from roughly shoulder height can show the body clearly. Try a side view for the outline, then move toward a three-quarter angle to include the depth of the chest and the curve of the neck. Leave room around the hooves and ears. A very low angle can make the horse appear imposing, but may hide the far legs or place the camera in an awkward position; use it only from a safe, agreed location.
Choose light that describes form
Soft daylight, such as open shade or a bright overcast sky, can reveal detail in both a dark coat and a pale marking. Turn the horse gently with the handler’s help and watch how the light falls across the face. Side light brings out the curve of the neck and shoulder; light from behind can outline a mane but may leave the face dark. Expose for the detail that matters most and check the bright areas of the coat on the camera display.
A simple background helps the silhouette read. A distant line of trees or an uncluttered stable wall lets the viewer follow the ears, neck, and legs. Before taking the frame, scan for fence posts that appear to grow out of the head. Moving a few steps sideways can separate them without moving the horse.
Focus on expression and time the stride
For a still photograph of the horse, place the focus point on the eye nearest the camera. An aperture around f/4 to f/5.6 provides a starting balance between a distinct background and enough depth for the face; check sharpness if the head is turned toward the lens. Notice the ears, eyes, and mouth together. A moment of alert attention may give the portrait energy, while a relaxed expression suits a quieter picture. Let the handler decide how to attract attention without startling the horse.
For photographs of a moving horse, continuous autofocus helps the camera follow the subject. Start around 1/1000 second for a trot and raise the shutter speed if the legs remain blurred. A faster gait may need more speed and, consequently, more light or a higher ISO. Try a short burst as the horse crosses the frame, leaving space in its direction of travel. Separate legs and a visible eye can make the rhythm easier to read; a slower shutter can instead convey motion through blur.
Review the first horse portrait at magnification: is the eye sharp, are the hooves inside the frame, and does the background interrupt the outline? Adjust the focus point or step sideways, then make the next frame when the horse and handler are ready. Thoughtful equine photography gives those small corrections room to shape the final image.