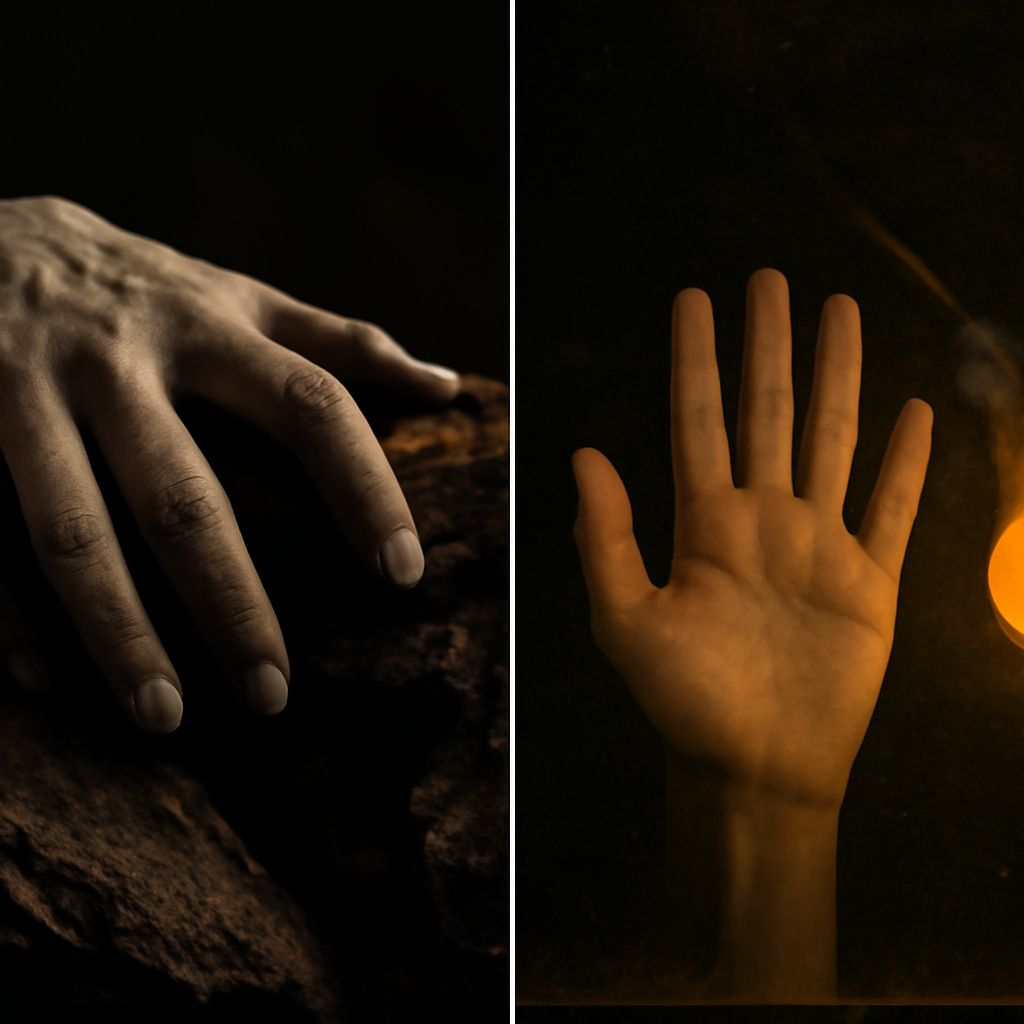
A hand resting on a table can hold the eye as surely as a face. The curve of a finger, the distance between two palms, or the pressure of a thumb against a cup can make a quiet frame feel expectant. Photographing hands begins with noticing those small choices of position and what they do within the image.
Shape the light
Side light from a window gives contours room to emerge. Place a hand near the window and turn it slowly: light may skim across knuckles in one position and leave them in shadow in another. A sheer curtain broadens the light and softens the transitions; moving the hand farther from the window usually reduces its intensity. A white card on the shadow side can return a little light without erasing the shape.
For hand photography with a more graphic look, try a small, direct light source and watch the shadows it casts. Hard edges can turn spread fingers into a pattern on a wall. Check the camera screen for bright areas that have lost detail, then lower the exposure until the highlights retain the texture that matters to the picture.
Arrange the gesture and frame
An expressive pose needs a visible relationship between fingers, palm, and wrist. A hand pressed flat toward the camera can appear compressed; turning it slightly often reveals its shape. Leave small gaps between fingers when their individual lines matter. If the gesture is meant to feel relaxed, allow the subject to settle into it instead of holding every finger rigidly in place.
Photographing a hand from above emphasizes the arrangement of fingers on a surface. From the side, a lifted wrist or a fingertip touching an object becomes more apparent. Move the camera a few inches and look at how the gesture overlaps with the background. A dark sleeve behind a shadowed hand, for example, may obscure its outline; a lighter surface can separate the two.
Crop deliberately. A close frame makes a crease or fingertip prominent, while including an elbow or part of a table can explain the action. Avoid cutting through a joint unless that edge serves the composition. In a photograph of two hands, the space between them can be as active as the hands themselves: a narrow gap suggests imminent contact, while a wider one gives the gesture more room to breathe.
Let an object carry the action
A hand turning a key offers a different moment from one holding a key in an open palm. The first image contains movement and direction; the second invites attention to the object. In photography of hands, a familiar prop can make a gesture legible without requiring a caption. A thread pulled through fabric, flour being pressed into dough, or a page held halfway open gives the viewer something specific to follow.
Choose a simple background and remove objects that compete with that action. Then make a short sequence: before contact, during the movement, and after it. Ask the person to repeat the action at a comfortable pace, and agree on how the images may be used. Collaboration matters in hand photography, especially when a gesture or object has personal significance to the person being pictured.
To practice photographing hands, place a cup beside a window and make three frames: one reaching for it, one holding it, and one setting it down. Compare the light, crop, and gesture in each image, and keep the frame that makes the action clearest.