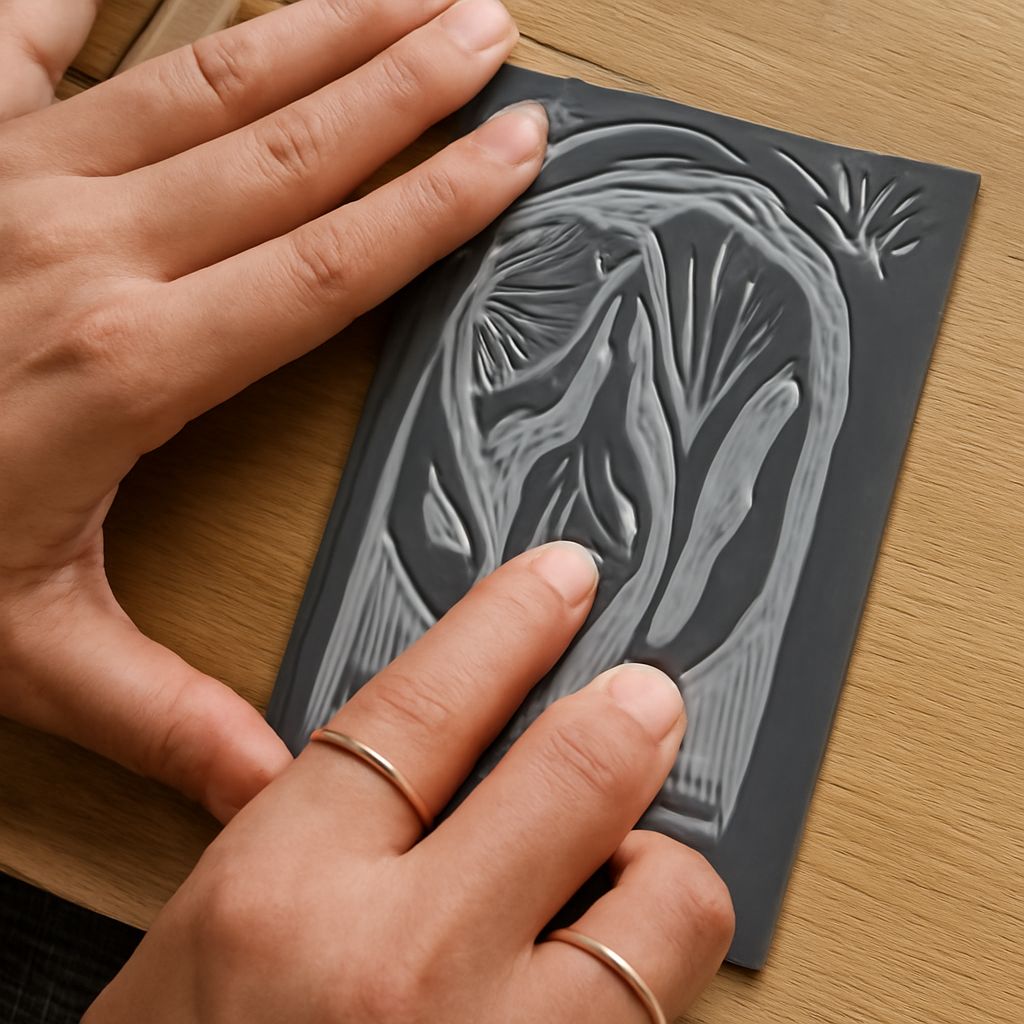
Lino print is an artistic technique that captures the intricate beauty of design through the process of linocut printing. This method, popular among artists for its versatility and unique results, involves carving designs into a linoleum surface and using it to create prints. Linocuts can range from bold, striking images to delicate, detailed artwork, making them a favorite in the art world.
Understanding Lino Print and Its History
The art of lino print has its roots in the early 20th century, emerging as a simplified alternative to woodcut prints. Initially, it gained popularity among artists who appreciated the ease of carving linoleum compared to wood. This form of printmaking became associated with avant-garde movements, capturing the attention of artists like Picasso and Matisse. Over time, linocut printing has evolved, yet it remains a vibrant part of contemporary art.
Essential Tools and Materials for Linocuts
Creating linocuts requires a set of specific tools and materials. To start, you’ll need:
- Linoleum block: The canvas for your design, available in various sizes and thicknesses.
- Carving tools: A set of gouges with different blades for carving intricate designs.
- Brayer: A roller used to apply ink evenly on the linoleum surface.
- Printing ink: Special ink designed for block printing, available in numerous colors.
- Baren: A tool for pressing paper onto the inked block, ensuring even transfer of ink.
- Paper: High-quality paper that absorbs ink well, enhancing the print’s appearance.
Step-by-Step Guide to Linocut Printing
- Design Your Image: Sketch your design directly onto the linoleum block using a pencil. Remember that the print will be a mirror image of your design.
- Carve the Block: Use the carving tools to carefully remove the linoleum where you don’t want ink. Start with larger areas and move to finer details.
- Prepare the Ink: Squeeze a small amount of ink onto a flat surface and roll it out evenly with the brayer.
- Ink the Block: Roll the inked brayer over the carved linoleum. Ensure a consistent layer of ink covers the raised design.
- Print Your Design: Place the paper over the inked block. Use a baren to press down evenly or run it through a press if available.
- Reveal and Dry: Carefully lift the paper to reveal your print. Allow it to dry completely before handling.
Creative Techniques and Tips for Lino Print
Experimenting with different techniques can enhance the visual appeal of your linocuts. Here are some tips:
- Layering Colors: Try printing multiple layers with different colors for a more complex image.
- Texture Variation: Use varied carving techniques to introduce texture and depth.
- Incorporate Mixed Media: Combine linocut with watercolor or collage for unique effects.
- Explore Negative Space: Play with the balance between carved and uncarved areas for striking contrasts.
Whether you’re a novice or an experienced artist, linocut printing offers endless possibilities for creativity and expression. With practice and experimentation, you can create stunning artworks that stand out.