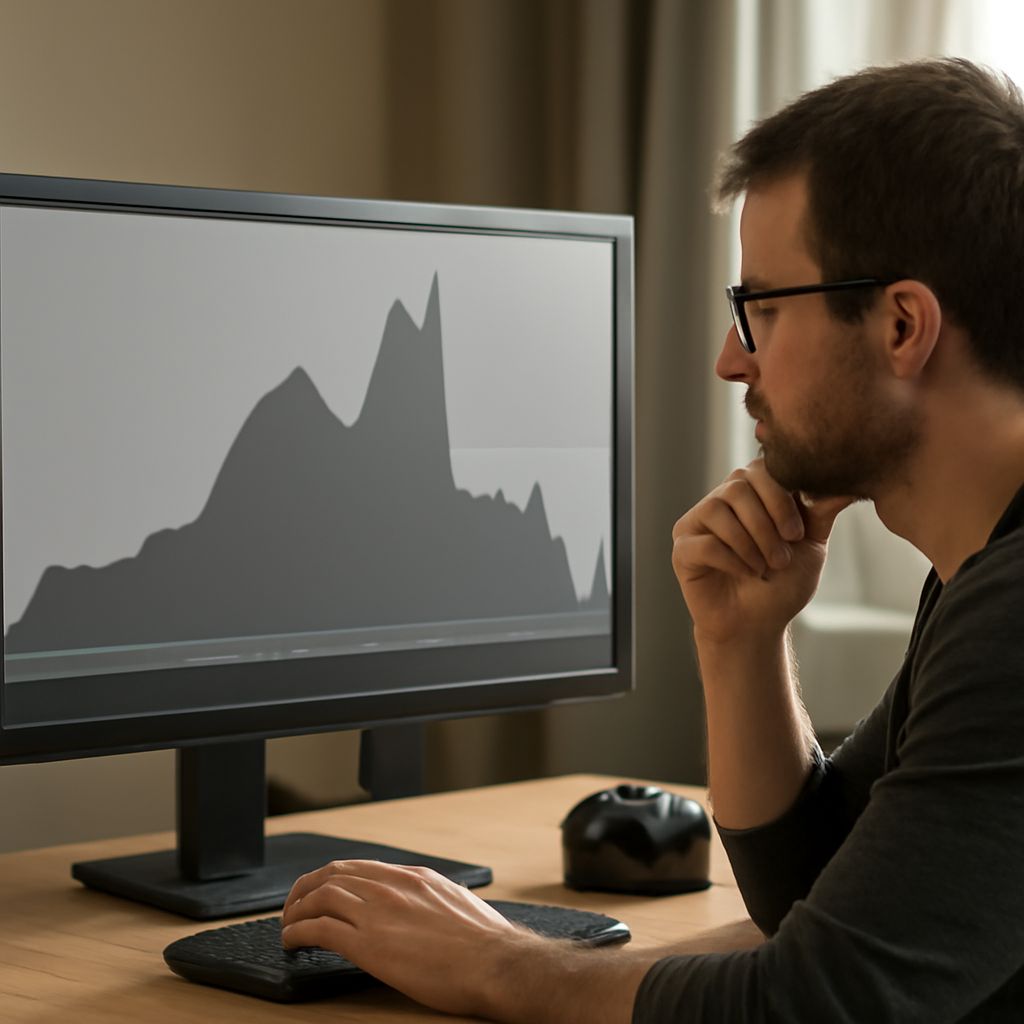
What is a histogram in photography? It is a graph of the tones in a captured frame: the left side represents dark values, the right side represents bright values, and the height shows how many pixels occupy each range. It helps you judge recorded detail, especially when a screen makes an image look brighter or darker than it is.
Use it after capture, not as a command to make every graph centered. A high-key scene can lean right without clipping; a low-key scene can lean left. The key decision is whether important tones are piled against either edge.
What Is a Histogram in Photography? Read Tonal Data
The X-Axis Is Brightness; The Y-Axis Is Pixel Count
The horizontal X-axis runs from black on the far left to white on the far right. The vertical Y-axis represents pixel count: a tall area means many pixels have tones in that brightness range. The histogram therefore describes tonal distribution, not composition, sharpness, or whether an exposure is automatically “correct.”
Data touching the left edge indicates shadow clipping: those pixels contain no recoverable darker detail. Data touching the right edge indicates highlight clipping: those pixels have reached white. A small spike from a lamp, sun reflection, or bright window may be acceptable, while a clipped face or cloud may not be.
High-Key, Low-Key, And Clipped Examples: Shape Is Not A Verdict
A snow scene or white studio background may produce a broad histogram weighted toward the right while retaining texture. A dark room or black clothing may create a left-weighted histogram and still be properly exposed. A clipped sky shows a hard pile-up at the right edge, often with flat white areas. Judge the graph against the subject’s intended tones rather than chasing a bell curve.
Camera Anatomy: Find the Exposure Controls
Lens And Aperture: The Light Opening
In basic camera anatomy, the lens sits in front of the camera body and focuses light onto the sensor. Its aperture is an adjustable opening inside the lens. The f-number controls how much light passes through and also changes depth of field, the range that appears acceptably sharp.
Shutter And Sensor: Timing The Exposure
The shutter controls how long light reaches the sensor. The sensor is the light-sensitive surface that converts photons into an electronic signal. A longer shutter time gathers more light but can record subject or camera movement; a shorter time reduces motion blur but may darken the frame.
Metering And Playback: Where To Find The Data
The camera’s meter estimates exposure from the scene and guides the aperture, shutter speed, or ISO settings. After taking the picture, open playback information or the shooting display to show the histogram. Exact button names vary, but the control is commonly labeled display, info, or histogram.
How Aperture, Shutter Speed, and ISO Change Brightness
The three exposure controls—aperture shutter speed ISO—change the recorded brightness in different ways, and each carries a visual trade-off.
- Aperture: Opening the aperture with a smaller f-number brightens the image and produces a shallower depth of field, useful for portraits. Closing it with a larger f-number darkens the image and increases the apparent focus range. Very small openings can reduce fine detail through diffraction.
- Shutter speed: A slower speed brightens the exposure and exaggerates movement or camera shake. A faster speed darkens it and freezes motion. Use a tripod or deliberate motion blur when a slow speed serves the image.
- ISO: Raising ISO brightens the recorded signal when the available light or chosen shutter and aperture are insufficient. It does not increase the light entering the lens. Higher settings can add noise, reduce dynamic range, and make highlight clipping easier to manage.
Changing one control moves the histogram, but the visual result depends on the scene. If a subject moves, shutter speed may matter more than preserving a low ISO; if background separation matters, aperture may be the priority.
Use Clipping And Channel Information In The Field
Read The Left And Right Edges
Inspect the histogram for important detail pressed against an edge. If highlights clip, reduce exposure with a faster shutter speed, smaller aperture, or lower ISO, then check whether the subject becomes too dark. If shadows clip, add light or exposure, open the aperture, slow the shutter, or raise ISO. Brightening a raw file later cannot restore pixels that recorded as pure black.
Check RGB Channels For Color Clipping
Many cameras show separate red, green, and blue histograms. A bright red flower or sunset may clip the red channel before the combined brightness graph reaches its apparent limit. Blinking highlights and channel warnings are useful confirmations, particularly with saturated subjects and strong colored light.
Adjust One Control, Then Recheck The Histogram
Make one deliberate adjustment at a time and review the result. Preserve highlight detail when it is important, but allow controlled clipping in a sun, specular reflection, or intentionally white background. The histogram is most useful as evidence of where tonal data sits and which detail, if any, has been lost.