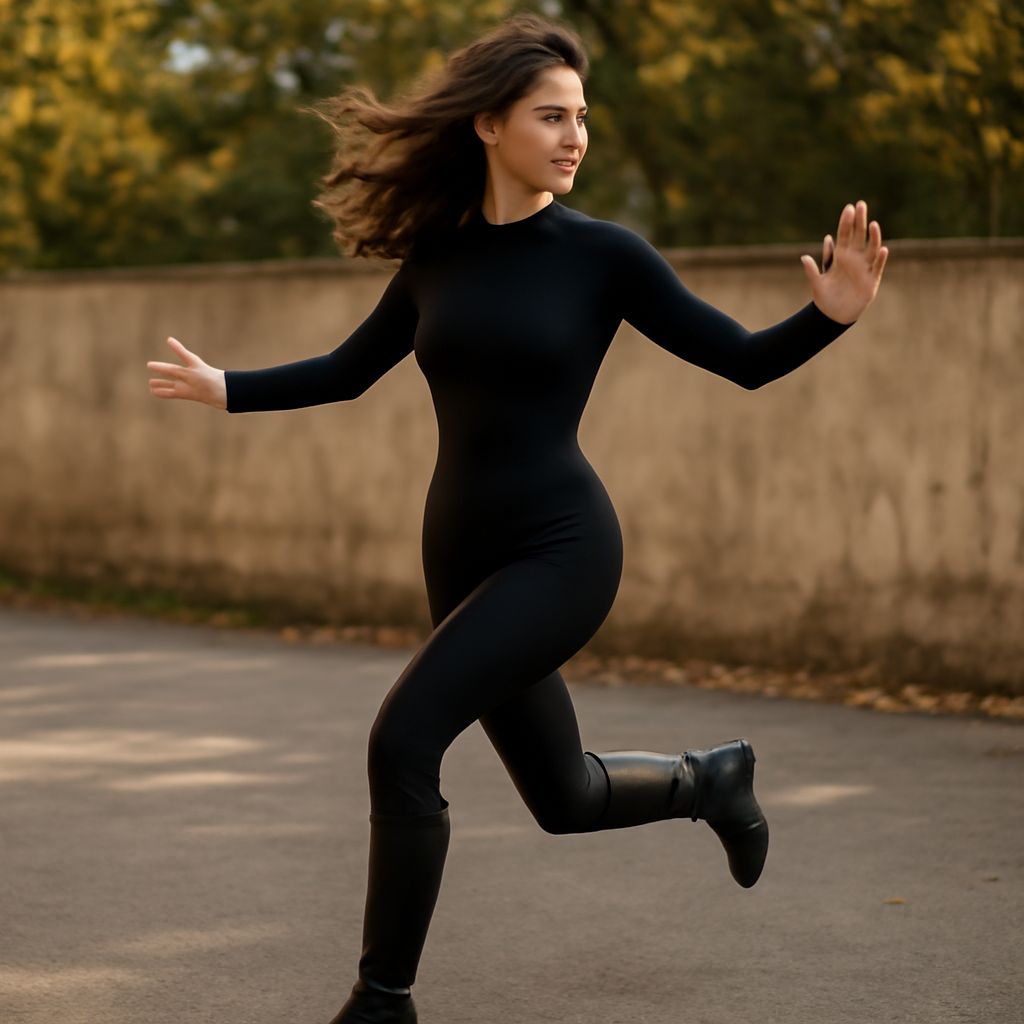
Drawing the female body convincingly demands both a solid understanding of anatomy and a sensitivity to proportion. Whether you’re aiming for realism, stylization, or dynamic gesture, mastering the essentials of drawing female body forms will open up your creative possibilities. This guide covers critical anatomical landmarks, proportion systems, and actionable steps for drawing woman body poses, along with advanced tips for expressive, lifelike results.
Understanding Female Anatomy for Artists
To succeed in drawing the female body, begin with a foundational knowledge of underlying structure. The female figure’s anatomy is defined by bone structure, muscle placement, and distinguishing contours. While every body is unique, there are landmark features artists return to for guidance.
The female pelvis is generally wider and more bowl-shaped than the male’s, influencing hip width and the natural curve of the waist. The ribcage is typically narrower, and the shoulders slope more gently. Musculature is subtler, with smoother transitions between joints and less pronounced muscle groups—especially in the arms and legs. Notable contours include the gentle inward curve at the waist, the outward swell of the hips, the smooth S-curve of the spine, and the proportionally rounded shapes in the chest and thighs.
Key surface anatomy points to note are:
- Collarbones (clavicles): These frame the neck and suggest shoulder width.
- Sternum and ribcage: Their shape affects posture and breast placement.
- Pelvic crest: Defines the angle and width of hips.
- Knees and elbows: Their placement is crucial to capturing natural limb bends.
Observing reference photos, life models, or anatomical diagrams will clarify how these landmarks appear in various poses. Always remember: even stylized drawings benefit from anatomical awareness.
Establishing Proportions When Drawing the Female Body
Drawing female body proportions accurately is essential for believability. While there is natural variation, artists rely on standard proportion systems as a starting point—these guidelines can be adjusted to suit different styles or individual subjects.
The classic system divides the standing female figure into roughly 7.5 to 8 heads tall. Here’s a basic breakdown:
- Head: Unit of measurement. From top of the skull to chin.
- Shoulders: About two to two-and-a-half head widths across.
- Bust: Top of the chest sits one head down from the top.
- Waist: Typically at 2–2.5 heads down.
- Hips: Widest point, about 3–4 heads from the top.
- Groin: Four heads down—this marks the halfway point.
- Legs: Thighs start at the groin, knees at about six heads down, and feet at the eight-head mark.
The female torso tends to be shorter relative to the legs, which are generally longer and fuller in proportion. Neck length can also contribute to the elegance or style of the pose. Be sure to lightly map these proportional markers as guidelines before refining your sketch.
Adjustment for age, athleticism, or stylization (such as fashion illustration or animation) is common. For example, a more elongated figure (8–8.5 heads tall) suits fashion work, while a shorter proportion (7 heads) appears more grounded or naturalistic.
Step-by-Step Process for Drawing Woman Body Poses
Start every drawing of the female body with gesture—the flow and action of the pose. This quick line captures movement and energy, and prevents stiffness later on. From gesture, progress to structure and form.
- Gesture Sketch: Use light, sweeping lines to block in the pose’s movement. Focus on the spine’s curve, angle of the hips, and weight distribution.
- Basic Landmarks: Mark head, shoulders, ribcage, pelvis, and extremities as simple shapes (ovals or boxes) to check proportion and alignment.
- Refining Proportions: Lay in the neck, connect the torso, plot the bust and hip width, and check the placement of knees, elbows, wrists, and ankles using your head measurement system.
- Construction of Limbs: Sketch arms and legs with simple cylinders, paying attention to foreshortening and overlapping forms in dynamic poses.
- Defining Contours: Refine the outline, focusing on the natural curves of the waist, outer thighs, and shoulders. Use softer lines for transitions between torso and limbs.
- Adding Features: Lightly indicate breasts (not as spheres but as forms following the chest’s perspective), collarbones, navel, and knees.
- Finalizing Details: Clean up any construction lines, clarify the silhouette, and add shading or hatching to suggest volume, light, and shadow.
Throughout, step back regularly to evaluate the balance and expression of your pose. Working from life, photo reference, or anatomical models will help you spot and correct proportion errors early.
Tips for Adding Realism and Expression
To bring your drawing of the female body to life, focus on subtle asymmetry, natural gesture, and expressive details. Bodies rarely stand rigidly or mirror themselves perfectly—introduce minor variations in shoulder and hip height, limb angle, or body weight shift.
Observe how skin stretches and compresses across joints, and how soft tissues (like the stomach, thighs, or upper arms) respond to gravity and pressure. When drawing woman body expressions, use gesture lines to inform facial emotions and overall body language, tying the entire pose together.
Shading is critical for convincing form. Map light and shadow according to a single light source, emphasizing the three-dimensionality of the ribcage, hips, and limbs. Use softer gradients for feminine contours and avoid harsh, blocky transitions unless your style demands it. Try layering tones to build subtle transitions across the figure’s curves.
Finally, don’t neglect hands and feet—these often express as much as the face. Even a simplified shape benefits from attention to proportion and gesture, ensuring they harmonize with the rest of the figure. Through practice and study, you’ll develop the confidence and accuracy to draw the female body in any pose or style you choose.