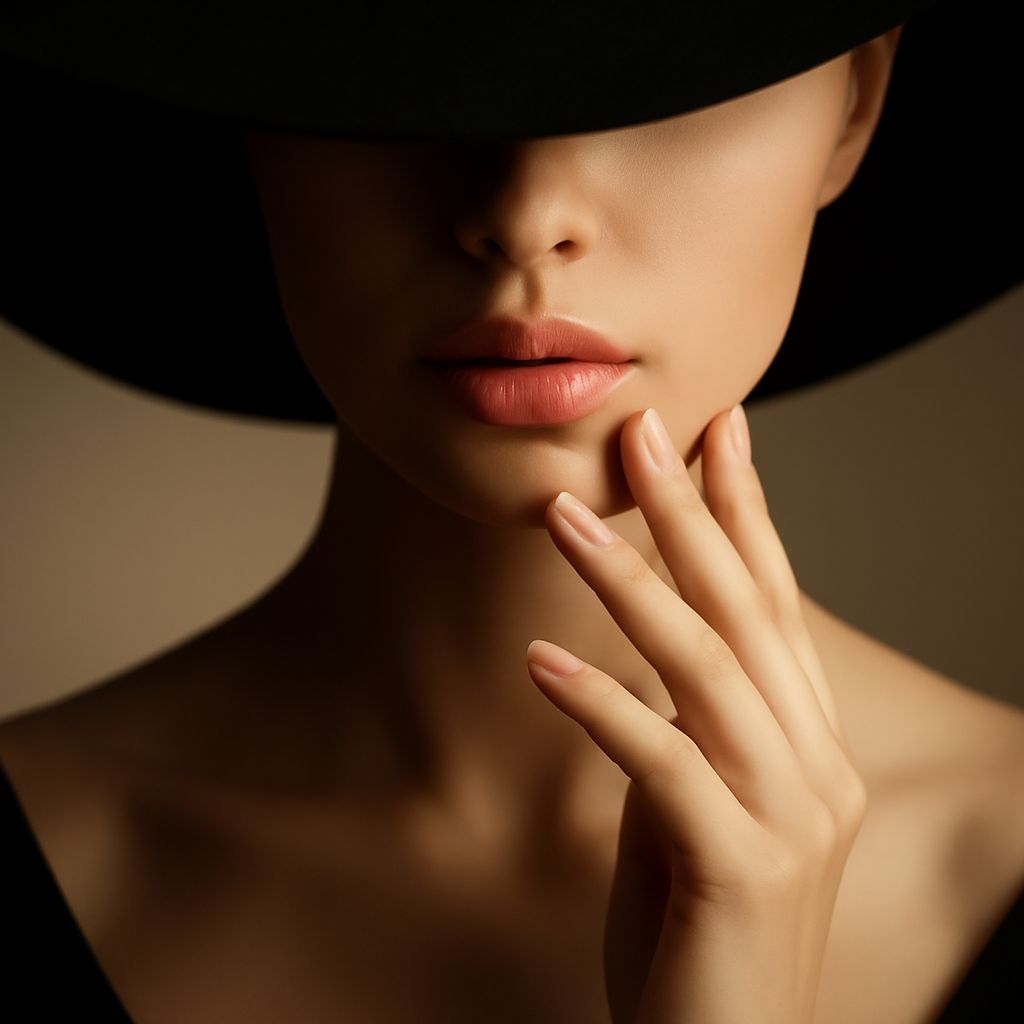
Broad lighting is defined by where illumination falls, not by the physical size of the lamp or modifier. In a portrait, the side of the face turned toward the camera receives the main light, making the visible lit plane wider than the shadowed side. This placement can make the face appear fuller and more open while establishing a clear tonal priority for the exposure.
Fine art lighting builds on that placement by controlling softness, direction, contrast, and separation. The goal is not simply to make the subject visible, but to shape form and preserve the tones that carry the image’s mood.
What Broad Lighting Is: Lighting the Side of the Face Turned Toward the Camera
In broad lighting, the subject’s head is positioned so the side facing the camera is also the side receiving the key light. The nose and cheek remain on the illuminated plane, while the farther side of the face falls toward shadow. This differs from short lighting, where the side turned away from the camera is lit and the visible side is predominantly shaded.
To create the pattern, place the light to one side of the subject, then turn the face slightly toward it until the camera sees more of the illuminated cheek. Small changes in head angle can alter the width of the lit area, the position of the nose shadow, and the apparent fullness of the face. Broad lighting often feels direct and approachable, but it can reduce facial definition on a rounder face unless the light is raised, feathered, or balanced with controlled shadow.
Fine Art Lighting: Source Size, Direction, Distance, Contrast, and Separation
Source size controls softness according to the source’s apparent size from the subject’s position. A large diffuser placed close to the face can produce broad, gradual transitions, while a smaller or more distant source creates firmer edges. “Large” therefore describes the quality of light only when distance is considered; it is not a synonym for the broad lighting pattern.
Direction determines which planes are revealed. Light near the camera axis minimizes modeling, while light moved to the side emphasizes cheekbones, texture, and the turn of the head. Raising the source changes the eye sockets and nose shadow; lowering it can flatten the face or create an intentionally unsettling effect.
Distance affects both intensity and falloff. Moving a source closer increases its apparent size and can make the foreground brighter than a background farther away. Moving it back creates more even illumination across depth but may require greater output. Use this change deliberately when separating a subject from a background.
Contrast is the difference between the brightest and darkest important areas. A reflector or weak fill opens shadows; negative fill deepens them. A darker, less illuminated background can frame the subject, while a brighter background reduces separation. Fine-art choices should support the subject’s structure rather than add contrast everywhere.
Exposure in Photography: Metering and Histograms for Tonal Control
Exposure in photography is the recorded tonal result of aperture, shutter speed, and ISO, shaped by the light reaching the sensor. Metering helps estimate that result, but the correct reading depends on which tones must remain accurate.
For a portrait with important highlights on the forehead or cheek, meter the key area or use spot metering, then check whether those highlights are approaching clipping. If shadow texture matters in clothing or hair, inspect those areas as well. A neutral or incident reading can provide a consistent starting point, while a reflective meter may be influenced by a dark background or bright skin.
The histogram reveals the distribution of tones after capture. A graph pressed against the right edge may indicate lost highlights; one compressed against the left may indicate blocked shadows. Review the image and blinkies at the key light’s brightest area, then adjust exposure or lighting rather than relying on the histogram’s shape alone. A low-key image can be intentionally left-heavy if its shadows still contain the detail the composition requires.
Balancing Mood With Usable Highlight and Shadow Detail
Start by identifying the image’s visual anchor: a face, fabric texture, reflective object, or another highlight. Set the key light and broad-lighting pattern around that anchor, then decide how much shadow information supports the mood. Deep shadows can create mystery and volume, but they should remain deep by choice, not because the meter ignored them.
Make small adjustments in this order: reposition the source for form, alter its distance for falloff, modify fill for contrast, and then change camera exposure. After each change, check the brightest intended highlight and the darkest area meant to retain texture. The finished frame should preserve those priority tones while allowing unimportant areas to approach pure white or black.